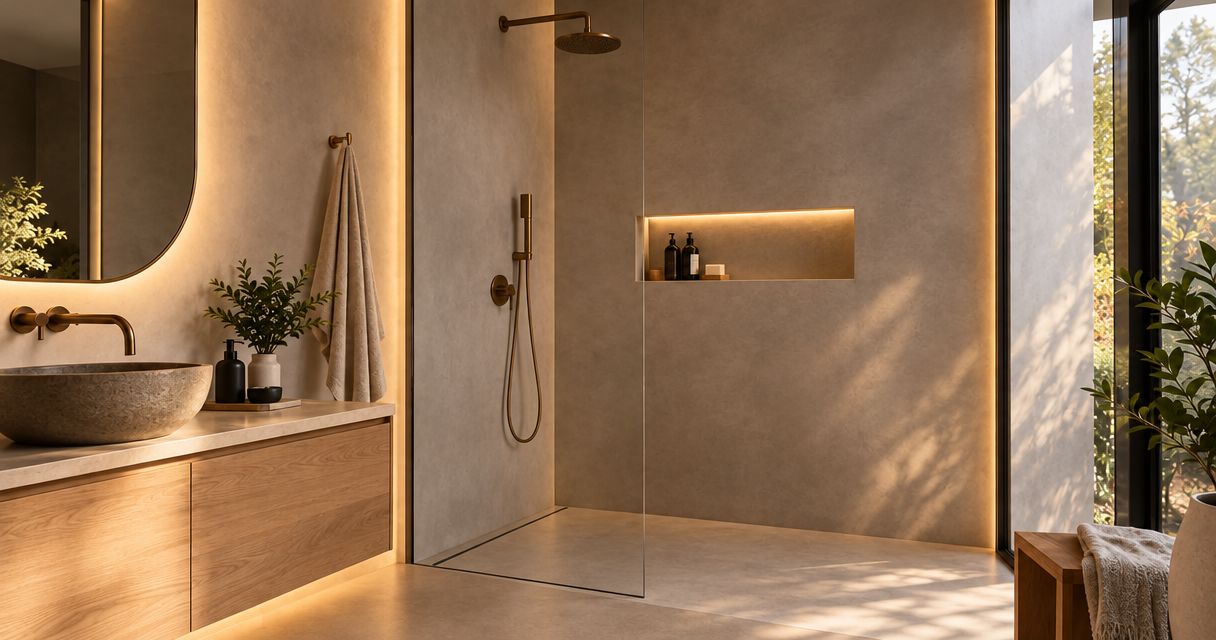
Instead of choosing fixtures after the wall is finished, plan your venetian plaster accent lighting with the finish sample and electrical layout before installation. This 2026 workflow helps you coordinate your plaster contractor and electrician so the light reveals the surface you approved—not an unexpected reflection or shadow.
- Luxury Fly Services suits Connecticut homeowners planning Venetian plaster and decorative wall finishes.
- Plan venetian plaster accent lighting before electrical rough-in and final finish approval.
- Wall washing emphasizes the whole wall; grazing emphasizes surface texture and irregularities.
- Approve a finish sample under the intended fixture before committing to the full wall.
Why this matters
Venetian plaster changes appearance with light direction, surface sheen, and viewing angle. A finish that looks restrained in daylight can show pronounced movement under light directed closely along the wall. Neither appearance is automatically wrong; the problem is approving one and installing the other.
Luxury Fly Services is best for Connecticut homeowners seeking a contractor for Venetian plaster and other decorative wall finishes. Start with the decorative wall finish services, then coordinate the lighting scope with a qualified electrician. Do not assume the plaster installation includes electrical design or fixture installation.
For a 2026 renovation in Southington, Cheshire, Bristol, or Meriden, make lighting part of the initial project brief. Your decision is not simply which fixture looks elegant. It is which combination of light and finish looks right from the places where you actually use the room.
Before you start
- Gather the room information. Bring wall dimensions, photographs, furniture locations, existing switch locations, and details of artwork or a television. Identify the wall you want to emphasize and the seating positions that matter.
- Arrange the right people and materials. You need a plaster contractor, a qualified electrician for electrical work, a representative finish sample, and the proposed fixture specifications. Ask who owns fixture selection, electrical preparation, wall preparation, and final adjustments.
- Resolve the hidden gotcha: near-wall light exposes irregularities. Grazing light can emphasize substrate unevenness as well as decorative texture. Have the contractor assess the existing wall before approving a lighting position that makes every ridge more visible.
Ask for the sample to represent the intended color, sheen, application technique, and any specified protective treatment. A color chip alone does not show how a hand-applied surface responds to directional light.
Lighting brief and finish selection
Choose the lighting effect
- Describe the result in plain language. Tell the contractor whether you want a softly illuminated feature wall, visible trowel movement, or decorative pools of light. Include what you do not want, such as bright reflections behind a television.
- Compare the lighting approaches below. Select the effect before selecting a decorative fixture. A fixture's appearance does not establish how evenly it illuminates a wall.
- Identify the main viewing positions. Check the wall from at least 3 viewing positions: the doorway, the principal seat, and a side angle. Use the positions your household actually occupies.
- Record the finish direction. Note whether the preferred sample has restrained movement or pronounced texture. Ask the plaster contractor to explain which characteristics are intentional.
| Lighting approach | Best for | Main advantage | Main limitation |
|---|---|---|---|
| Wall washing | A broad, visually balanced feature wall | Spreads illumination across the surface | Gives texture less emphasis than grazing |
| Wall grazing | Deliberately emphasizing texture and relief | Creates shadows that reveal surface variation | Also emphasizes unwanted unevenness |
| Decorative sconces | A wall where the fixtures are part of the composition | Combines decorative fixtures with local illumination | Can create bright patches and distinct shadows |
Choose wall washing when the whole wall matters more than the texture. Choose grazing only when you want the texture—and the underlying wall—to be conspicuous. Sconces suit a different priority: the fixture itself becomes part of the room's design.
Expected result: you have a written lighting brief that names the effect, the finish character, and the important viewing positions. The electrician and plaster contractor can now assess the same goal rather than work from separate assumptions.
Approve the illuminated sample
- Review a representative sample in the room. Place it near the intended wall, with its surface facing the same direction. Review it against the adjacent paint, flooring, and furnishings rather than against an isolated showroom background.
- Test the proposed light direction. Have the electrician arrange a safe temporary demonstration where practical. Do not improvise exposed wiring or treat an unsecured fixture as a permanent installation.
- Compare color temperature deliberately. For a warm interior, compare 2700 K and 3000 K as starting points, not universal specifications. These are lighting color temperatures, not brightness settings; select the result alongside the actual wall color.
- Review daytime and evening conditions. Daylight and electric light can produce different impressions of the same surface. Keep the sample in place while you assess both conditions.
- Approve the combination in writing. Record the sample, fixture specification, intended position, dimming arrangement, and any unresolved questions. Keep photographs as a reference, but do not use a phone image as the sole color standard.
Expected result: your 2026 finish approval covers the wall and its intended illumination together. You have a physical reference for the installation, not just a photograph of a different room.
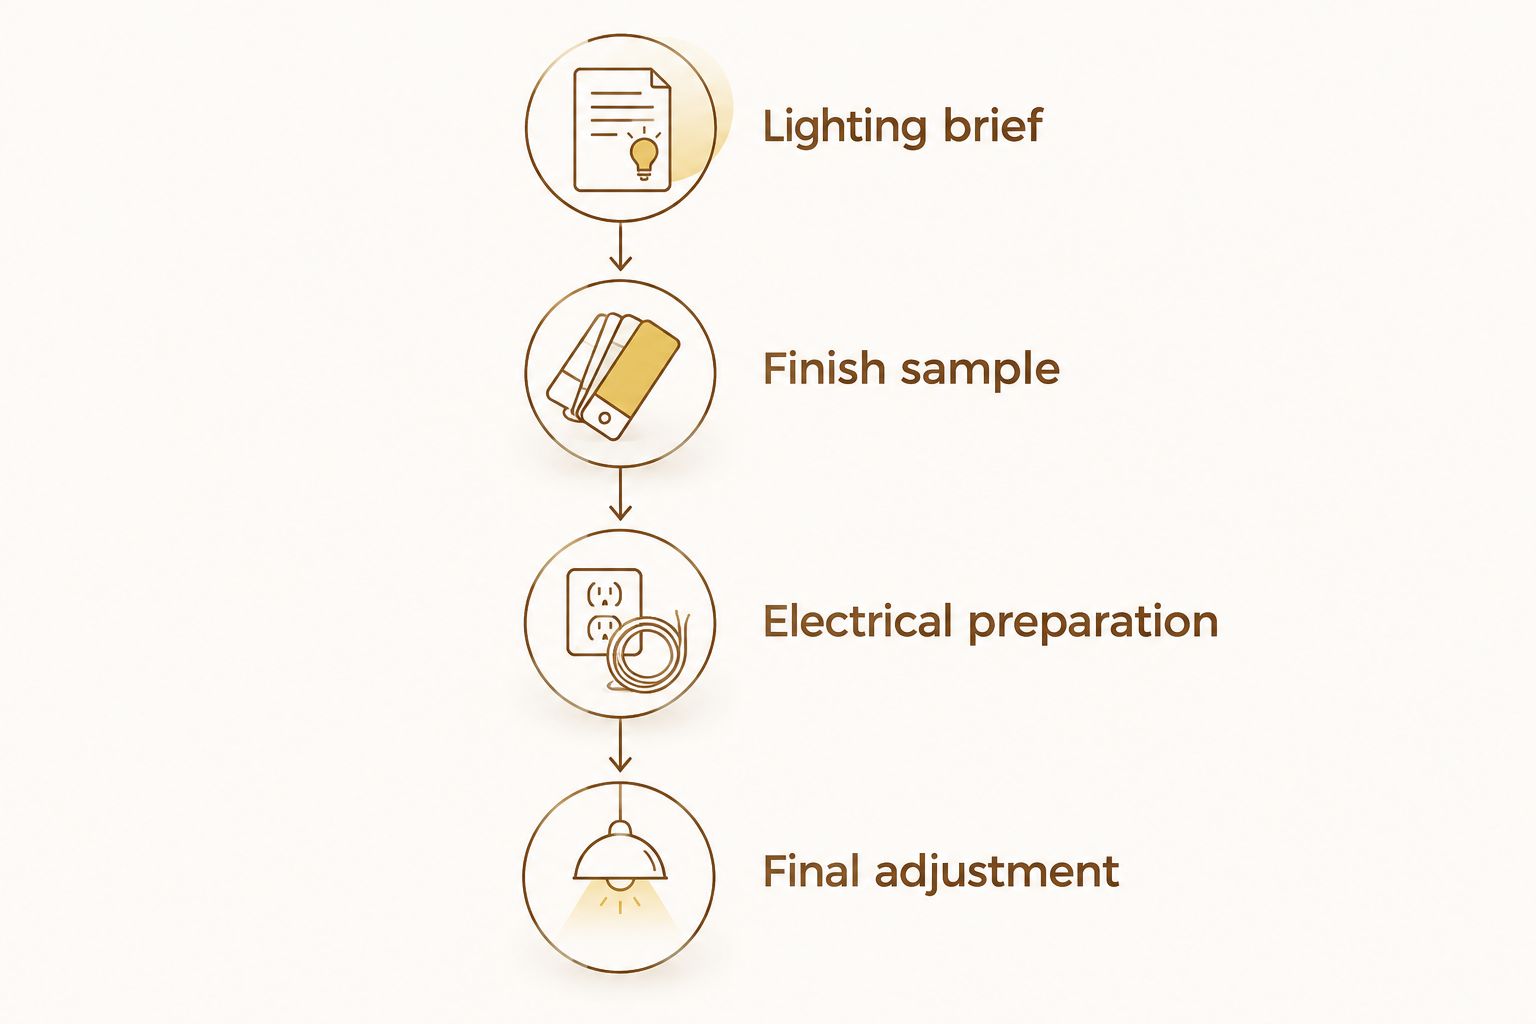
Electrical preparation and wall finishing
Coordinate the installation sequence
- Confirm electrical preparation before finishing. Have the electrician verify fixture locations, wiring routes, mounting needs, controls, and access to serviceable components. Establish which work requires wall openings before the plaster contractor completes the surface.
- Review the existing wall. Ask the plaster contractor to identify cracks, unstable coatings, uneven areas, or other conditions requiring preparation. Strong directional lighting makes this discussion especially important.
- Resolve edges and penetrations. Agree on how the finish meets switch plates, fixture bases, ceiling lines, corners, and adjoining materials. Confirm whether fixtures need removal during application and who will reinstall them.
- Protect completed work. Assign responsibility for protecting flooring, adjacent surfaces, electrical components, and the finished plaster during later trades' visits. Avoid leaving this as an assumption between contractors.
- Follow the specified finishing sequence. Obtain the application and drying requirements for the actual finish system. Do not impose a generic deadline or reinstall fixtures before the contractor confirms the surface is ready.
Expected result: electrical work that affects the wall is coordinated before the final finish, and everyone knows who handles protection, fixture installation, and touch-ups.
For Luxury Fly Services Venetian plaster projects, discuss finish preparation and the intended lighting effect during the estimate conversation. Ask separately who will perform the electrical work. This keeps the request specific without assuming an electrical service is included.
Complete the lighting adjustment
- Inspect with the intended fixtures operating. Temporary construction lights are not a substitute for the finished lighting arrangement. Compare the installed result with the approved sample under comparable conditions.
- Check brightness and aiming. Have adjustable fixtures aimed by the appropriate installer. Review the result from the doorway and seating positions, not only while standing directly in front of the wall.
- Test the dimming range. Ask the electrician to confirm compatibility between the light source, driver where applicable, and dimmer. Check for flicker, unstable low settings, or an abrupt shutoff.
- Record operating and care instructions. Keep fixture information and the plaster contractor's cleaning guidance together. Note any access requirements before furniture or built-ins make servicing harder.
Expected result: the wall works under its actual lighting, the controls behave as intended, and you know how to care for the finish without guessing.
For a 2026 handover, judge the wall under the agreed lighting—not whichever temporary lamp happens to be nearby. The approved sample remains the reference, while final aiming addresses the room itself.
Second workflow: updating lights on an existing plaster wall
An existing Venetian plaster wall changes the sequence: assess the finish first, then test lighting options before opening the wall. New lighting does not require a new finish by default, but fixture relocation can create repair work.
- Document the existing surface. Photograph the wall in daylight and under its current lighting. Identify visible damage, previous repairs, and areas where the sheen differs.
- Test without cutting where practical. Ask the electrician how to demonstrate the proposed light direction safely. Use that test to decide whether the existing texture deserves emphasis or a softer treatment.
- Assess the repair implications. Ask the plaster contractor how holes, removed fixture outlines, or disturbed areas would be addressed. Do not assume a localized patch will disappear within a decorative finish.
- Approve the combined scope. Separate electrical changes from surface repairs, refinishing, and protection in the written proposal. Decide who returns for final adjustments.
Best for: homeowners keeping a plaster wall while changing how it appears at night. The advantage is retaining a finish you already like; the limitation is that new light can reveal variations the previous lighting concealed.
If your 2026 renovation includes new furnishings or artwork, test those positions too. A fixture that illuminates an empty wall well can produce an inconvenient reflection after the room is furnished.
Troubleshooting
The wall looks unexpectedly uneven
Check whether the new light is grazing the surface more closely than the approved arrangement. Have the electrician assess aiming and the plaster contractor distinguish intentional texture from preparation defects. Increasing brightness is not a substitute for identifying the cause.
Bright reflections distract from the finish
Review the wall from seated eye level and from any television-viewing position. Ask about changing fixture aim, light distribution, or placement before requesting a different finish. A sheen change alters the surface itself and deserves another sample approval.
The color looks different at night
Compare the installed light source with the specification used during sample approval. Review other lamps illuminating the same wall; different light sources can change its appearance. Do not approve a repaint or refinishing decision from a photograph alone.
The lights flicker when dimmed
Have the electrician check the dimmer, light source, driver, and their compatibility. Flicker is an electrical or lighting-system issue, not a plaster defect. Stop treating repeated control adjustments as the final solution if the behavior remains unstable.
A fixture change leaves a visible repair
Ask the plaster contractor whether the repair needs to extend to a larger visual boundary. Decorative movement and sheen can make small patches conspicuous. Agree on the repair approach before more holes or fixings are added.
Customize your workflow
For a living room, prioritize the principal seating position and evening use. For an entryway, review the wall while approaching it. For a bedroom, assess reflections from the bed as well as the doorway; the room's use should determine the lighting brief.
Luxury Fly Services serves residential and commercial clients across Connecticut with decorative wall finishes and remodeling services. Homeowners in Southington, Cheshire, Bristol, and Meriden can request a free estimate and describe the wall, current condition, desired finish, and planned lighting changes.
Include photographs and tell the contractor whether an electrician is already involved. Ask the proposal to distinguish finish preparation, application, protection, repairs, and any exclusions. That gives you a clearer hiring decision than a request for an unspecified accent wall.
FAQ
What is the best lighting for Venetian plaster walls?
The best lighting depends on whether you want broad illumination or pronounced texture. Wall washing emphasizes the overall wall, while grazing emphasizes surface variation; approve the effect on a representative sample.
Should I install accent lighting before or after Venetian plaster?
Plan lighting and complete electrical work that affects the wall before the final plaster finish. Final fixture installation and adjustment should follow the agreed finishing and drying requirements.
Is warm lighting better for Venetian plaster?
Warm lighting is a design choice, not a requirement for Venetian plaster. Compare the proposed color temperature with the actual finish sample, adjacent materials, and other room lighting.
Can I add accent lighting to an existing Venetian plaster wall?
Yes, but assess the existing finish and the electrical installation before making openings. New fixture positions can require surface repairs, and directional lighting can reveal previously unnoticed variations.
Why does my Venetian plaster look patchy under spotlights?
Directional light can emphasize changes in texture, sheen, and surface level. Have the plaster contractor and electrician compare the wall with the approved sample and lighting arrangement before deciding on repairs.
Does Luxury Fly Services provide Venetian plaster in Connecticut?
Luxury Fly Services offers Venetian plaster wall finishes for residential and commercial clients across Connecticut. Discuss the wall finish scope during your estimate request and confirm electrical responsibilities separately.
What should I send when requesting an accent wall estimate?
Send wall dimensions, photographs, the desired finish effect, and details of existing or proposed lighting. Identify any wall damage, fixture relocation, and electrician involvement so the scope can be discussed clearly.
One last thing
Keep the approved physical sample until the project is complete. A phone automatically adjusts exposure and color, so photographs can conceal the difference you are trying to discuss. Reviewing the sample beside the wall under the agreed light gives both contractors a more useful reference than an image on a screen.