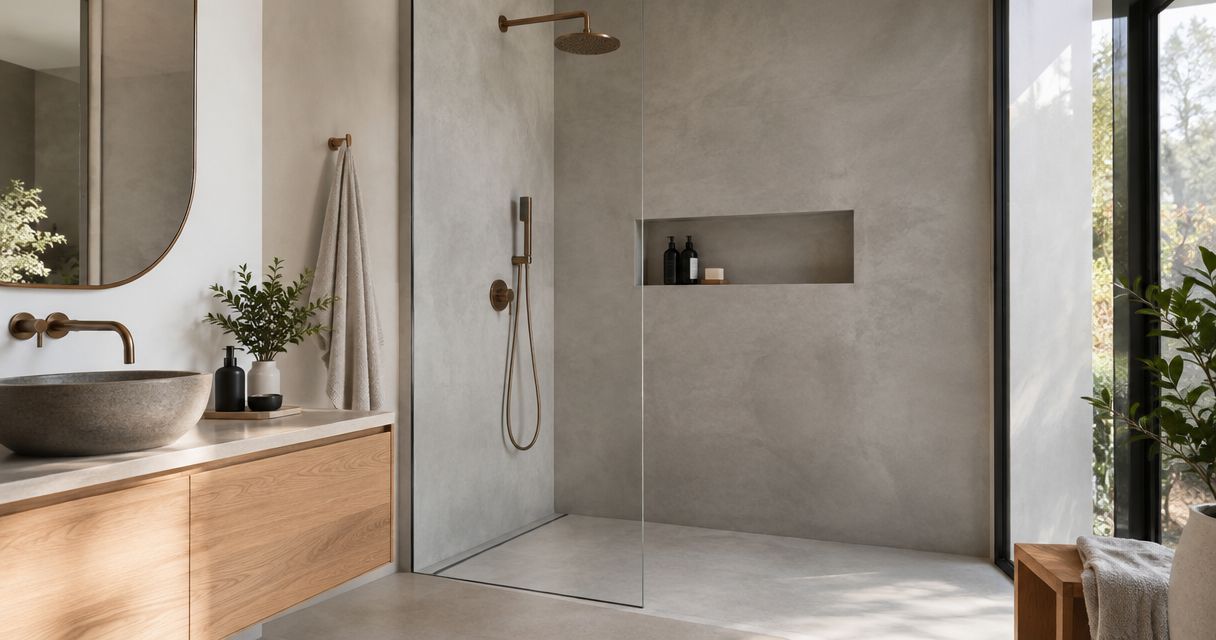
Best overall: full-height microcement walls in a walk-in shower. Best for retaining an existing layout: a system-approved tile overlay. Best for a compact bathroom: a continuous alcove finish. These are the best microcement applications for shower walls in 2026 when the substrate, waterproofing, and protective finish are specified together.
- The best microcement applications for shower walls combine a continuous finish with a documented wet-area system.
- Full-height walk-in shower walls are the default choice when you want broad, uninterrupted surfaces.
- Tile overlays require sound existing tile and explicit approval from the selected system manufacturer.
- Luxuryflyservices offers microcement wall finishes for residential and commercial clients across Connecticut.
Why this matters
Microcement gives shower walls a continuous decorative surface without a field of tile grout joints. It does not eliminate the need for waterproofing, movement joints, or careful detailing around plumbing penetrations.
Choose the shower assembly before choosing the color. A finish sample shows appearance; it does not establish whether the complete construction suits repeated water exposure.
Luxuryflyservices is best for Connecticut clients seeking a local contractor for microcement wall finishes. For a shower project, ask for a proposal that identifies the intended wet-area system rather than accepting a description of the decorative finish alone.
What makes the best microcement shower-wall application?
Use these criteria to compare your options in 2026. Appearance belongs on the list, but it should not lead it.
- Wet-area suitability: The manufacturer's documentation must cover the intended shower-wall use, including the protective finish.
- Substrate stability: The backing must meet the selected system's requirements. Loose tile, movement, or deteriorated materials need attention before coating.
- Waterproofing continuity: Corners, penetrations, niches, and wall-to-floor connections need details compatible with the complete assembly.
- Maintainable geometry: Broad surfaces are simpler to inspect and wipe than shelves, recesses, and intricate transitions.
- Repair planning: Ask how damage is repaired and how a repaired area can differ from the surrounding hand-applied finish.
- Finish control: Approve a physical sample showing texture, color variation, and sheen before installation.
Microcement shower-wall applications at a glance
The ranking below separates applications by the problem each solves. It does not rank coating manufacturers or substitute for their installation instructions.
| Application | Best for | Standout feature | Key limitation |
|---|---|---|---|
| Full-height walk-in walls | A complete shower redesign | Broad, visually continuous surfaces | Requires coordination across the whole shower assembly |
| Overlay on existing tile | Retaining a sound existing layout | Reuses a suitable substrate | Concealed defects and tile adhesion require assessment |
| Continuous alcove walls | A compact enclosed shower | Consistent finish across adjoining walls | Corners and fixture openings still require detailed treatment |
| Integrated niche finish | Built-in shower storage | Carries the wall finish into a recess | More corners, exposed edges, and horizontal surfaces |
| Single feature wall | A targeted visual change | Concentrates the decorative finish | Material transitions become part of the design |
1. Full-height walk-in walls: best for a complete shower redesign
Full-height microcement covers the main shower walls as one coordinated decorative treatment. It suits a renovation in which you can address the backing, waterproofing, fixture locations, and enclosure details before the finish goes on.
The advantage is visual continuity. Large wall areas let the hand-applied texture read clearly without competing with a grid of grout lines.
For a 2026 shower redesign, specify the boundaries of the finish: where it meets the ceiling, glass channels, shower base, and adjacent painted walls. Those junctions need decisions before installation, not improvisation afterward.
Full-height wall pros:
- Creates a consistent finish across the main shower surfaces.
- Keeps decorative transitions outside the central wall area.
- Allows the wall layout and fixture positions to be planned together.
Full-height wall cons:
- Makes substrate preparation a whole-shower task.
- Leaves broad surfaces on which texture differences and repairs can remain visible.
Best for: You want to redesign the shower rather than change one decorative element.
Verdict: Buy this application for a complete renovation with a documented wet-area assembly.
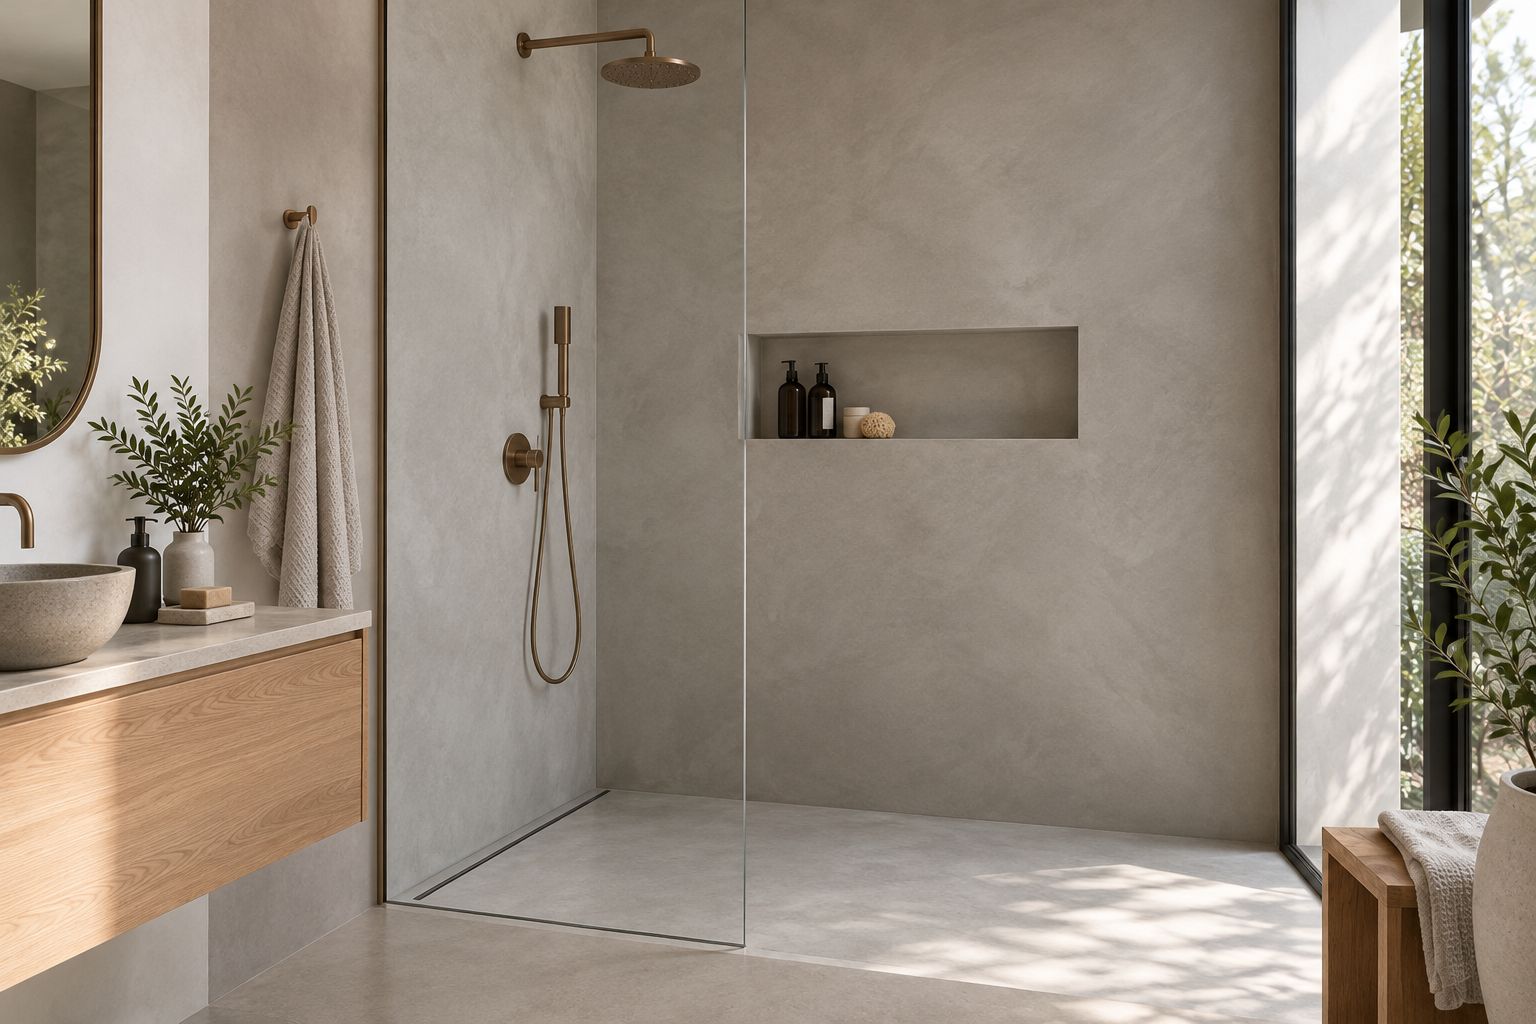
2. Existing-tile overlay: best for retaining a sound shower layout
A microcement overlay places a compatible decorative system over existing tile. It belongs on your shortlist only when the selected manufacturer permits that substrate and the existing assembly passes the required assessment.
An overlay is not a repair for loose tile, failed waterproofing, or a leaking shower. Covering a defect does not correct its cause, and the existing tile becomes part of the support for the new finish.
Ask how the installer will evaluate adhesion, address grout-line relief, prepare glazed surfaces, and establish compatibility between layers. A satisfactory answer identifies the actual system and its written requirements.
Existing-tile overlay pros:
- Retains the current wall arrangement where it is suitable.
- Allows a decorative change without automatically replacing every underlying layer.
- Keeps an established shower layout intact.
Existing-tile overlay cons:
- Depends on the condition of materials beneath the new finish.
- Adds thickness at fixtures, edges, and enclosure connections.
- Cannot establish waterproofing integrity merely by covering tile.
Best for: You want to retain an existing layout and have a sound, approved substrate.
Verdict: Hold until the substrate and complete overlay specification are accepted.
3. Continuous alcove walls: best for a compact enclosed shower
A continuous alcove application carries microcement around the adjoining walls of an enclosed shower. Its purpose is consistency: the walls share a finish instead of breaking into contrasting tile fields or decorative bands.
Keep the material palette restrained if you want the enclosure to read as one space. Microcement does not increase the shower's physical dimensions, and a continuous appearance does not mean construction joints can disappear.
Inspect a sample under lighting similar to your bathroom's. Side lighting can make trowel marks and surface variation more apparent than an evenly lit showroom sample suggests.
Continuous alcove pros:
- Gives adjoining walls a coordinated appearance.
- Avoids a field of tile grout lines within the decorative surface.
- Lets fixtures and glass remain the main contrasting elements.
Continuous alcove cons:
- Requires careful treatment of every internal corner.
- Makes differences between adjoining wall finishes easy to compare.
Best for: You want a consistent finish within an existing compact shower footprint.
Verdict: Buy for visual continuity, not as a substitute for more space.
4. Integrated niche finish: best for built-in shower storage
An integrated niche application carries microcement from the wall into a recessed storage opening. It can make the niche feel connected to the wall rather than like a separate tiled insert.
The recess also adds demanding details. Its lower surface needs appropriate drainage, and the waterproofing must continue through the corners and around the opening using the specified assembly.
For your 2026 specification, review the niche in section as well as from the front. A front elevation shows proportions; a section explains the shelf slope, backing, finish buildup, and edge arrangement.
Integrated niche pros:
- Connects recessed storage visually with the surrounding wall.
- Avoids introducing another decorative material inside the opening.
- Allows storage placement to be coordinated with the wall layout.
Integrated niche cons:
- Introduces additional corners and horizontal surfaces.
- Exposes shelf edges to contact from bottles and cleaning.
- Requires more detailed waterproofing than an uninterrupted wall.
Best for: You need recessed storage and accept the additional detailing it requires.
Verdict: Buy only when drainage, edges, and waterproofing are explicitly resolved.
5. Single feature wall: best for a targeted decorative change
A feature-wall application limits microcement to one selected shower wall. The surrounding surfaces remain a different approved finish, with the junctions designed as part of the assembly.
This approach suits a project where you want the material's appearance without carrying it across every wall. It also lets you choose a wall with fewer penetrations or interruptions, if the shower layout allows it.
The trade-off is the transition. Different materials and thicknesses need compatible edge details, and an intentional boundary looks better than a finish that simply stops where installation became difficult.
Single feature wall pros:
- Focuses the decorative finish on a chosen surface.
- Leaves room for a contrasting material elsewhere.
- Can avoid complicated wall areas when the layout permits.
Single feature wall cons:
- Retains visible boundaries between wall materials.
- Requires coordination of thickness, edges, and movement accommodation.
Best for: You want a focused material change rather than a continuous enclosure.
Verdict: Buy when the material junctions are designed before work begins.
How the applications are ranked
Full-height walls rank first because they provide a clear default for a complete redesign without adding the recesses of a niche or relying on an existing tile assembly. The other applications address narrower needs: retaining a layout, coordinating an alcove, adding storage, or creating a feature.
This is an application ranking, not a claim of measured durability. In 2026, the deciding evidence remains the proposed system's documentation and the condition of your shower—not the position of an option in a list.
What to request before approving the work
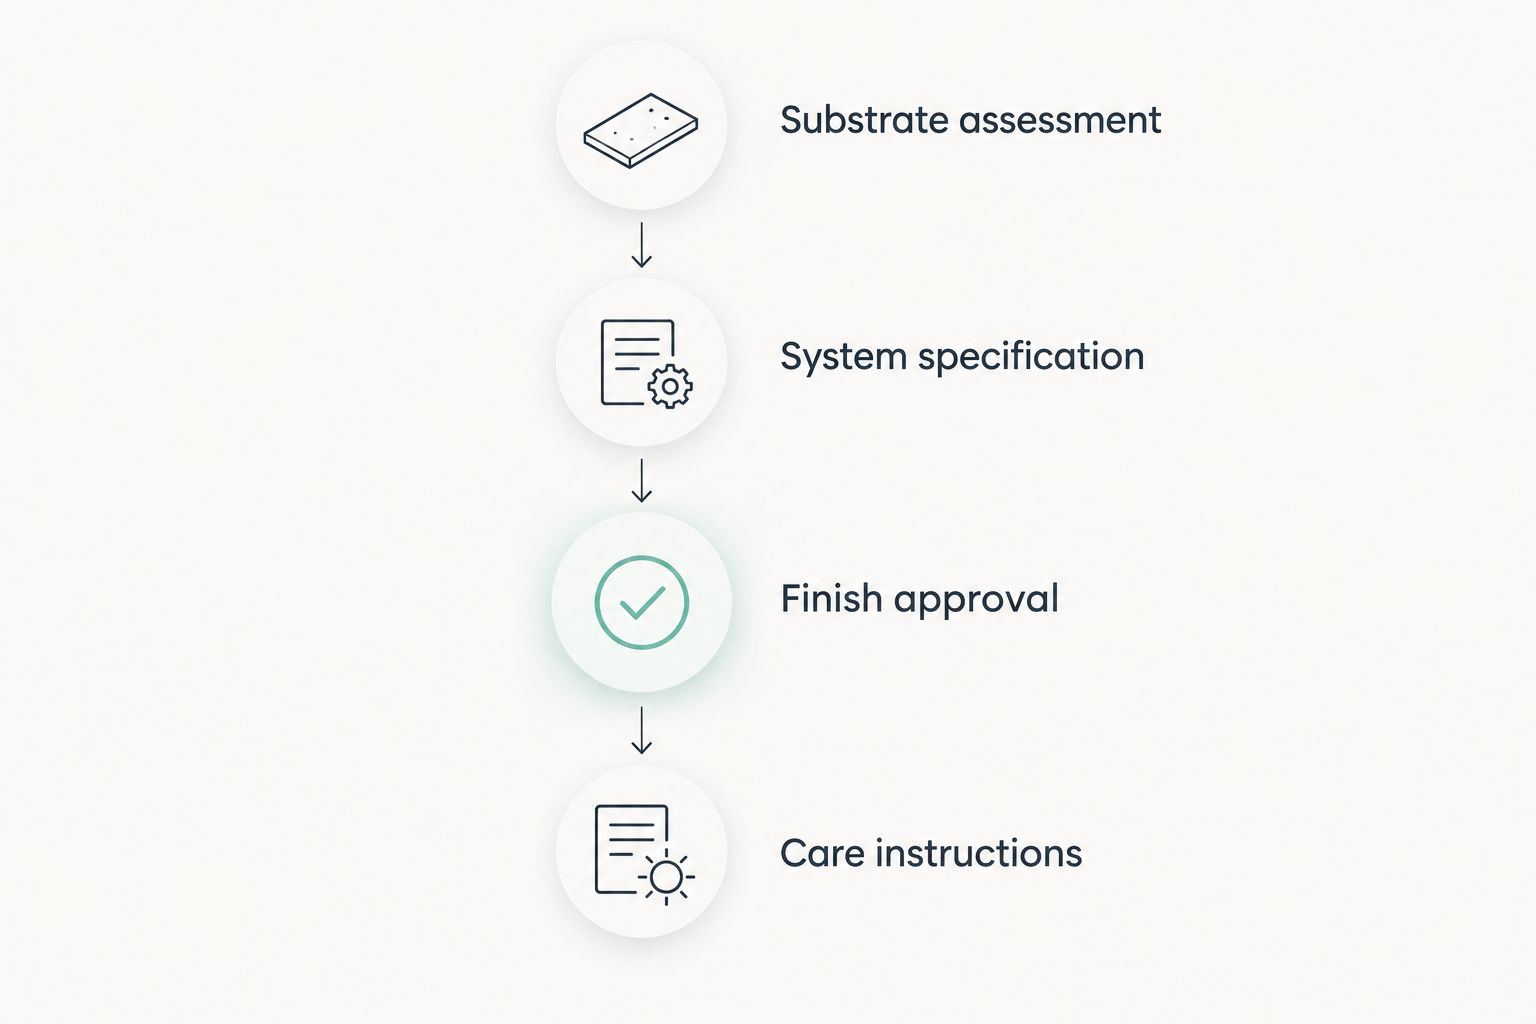
Request 3 documents: the proposed system specification, the substrate assessment, and the maintenance instructions. Together, they should explain what will be installed, what it will sit on, and how you must care for it.
Review 2 physical samples if you are choosing between different textures or sheens. Compare them under your bathroom lighting rather than relying on screen images.
- Substrate assessment: Identify existing materials, damage, movement, and preparation requirements.
- System specification: Name the compatible layers and explain corners, penetrations, and material junctions.
- Finish approval: Record the accepted color, texture, and sheen using a physical sample.
- Care instructions: Confirm permitted cleaners, inspection needs, and the process for addressing damage.
Ask Luxuryflyservices to make the proposed microcement wall-finishing scope explicit. Separate decorative work from any backing replacement, plumbing changes, or waterproofing work so you can compare proposals on the same basis.
Your handover information matters as much as the sample. Keep the system names and care instructions with your renovation records so future cleaning or repair decisions do not depend on memory.
Which microcement shower-wall application should you choose?
Choose full-height walk-in walls as the default for a complete renovation. Choose an overlay only after confirming the existing assembly is suitable; choose an alcove finish for consistency within a compact footprint.
Treat niches and feature walls as specific design decisions, not automatic upgrades. A niche earns its place through useful storage, while a feature wall earns its place through a well-resolved material transition.
For a Connecticut project in 2026, discuss the wall-finishing scope with Luxuryflyservices and request the wet-area details before approving the appearance. A clear specification is more useful than a promise that the finished surface will look continuous.
FAQ
What's the best microcement application for shower walls?
Full-height microcement walls are the best default for a complete shower redesign. They provide broad, continuous decorative surfaces, provided the substrate, waterproofing, and protective finish form an approved wet-area assembly.
Is microcement itself enough to waterproof a shower?
Do not treat decorative microcement alone as the shower's waterproofing. Follow the selected manufacturer's complete wet-area assembly, including its requirements for backing, waterproofing, protective layers, corners, and penetrations.
Can microcement go over existing shower tiles?
Microcement can go over existing shower tile when the selected system permits it and the existing assembly meets its requirements. Loose tile, leaks, and substrate movement must be addressed rather than concealed.
Can I use microcement inside a shower niche?
Microcement can finish a shower niche when the complete system is approved for that use. The specification must resolve drainage, internal corners, exposed edges, and continuous waterproofing.
Does a microcement shower have no joints at all?
A continuous microcement appearance does not eliminate required movement joints or sealed junctions. Their location and treatment must follow the assembly's requirements rather than the desired visual effect.
How do I clean microcement shower walls?
Use the cleaning method and products approved for the installed protective finish. Do not assume an abrasive pad, acidic descaler, or strong cleaner is compatible; check the written care instructions first.
Should I choose microcement for every shower wall?
Choose microcement for every wall when visual continuity is your priority and the whole assembly is suitable. A single feature wall is a better match when you want a targeted decorative change and can resolve the material transitions.
One last thing
The smallest details deserve the closest inspection: a pipe penetration, a niche corner, or the junction beside the shower base. Ask to see how those details will be built before approving a large finish sample; a convincing surface does not explain what happens behind its edges.