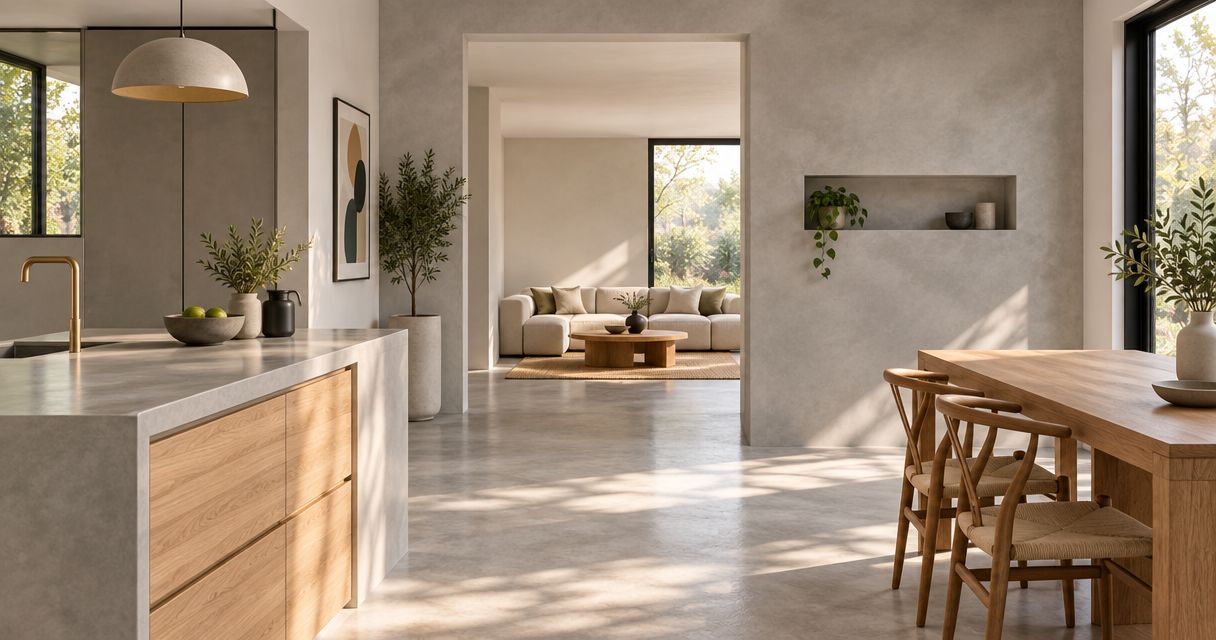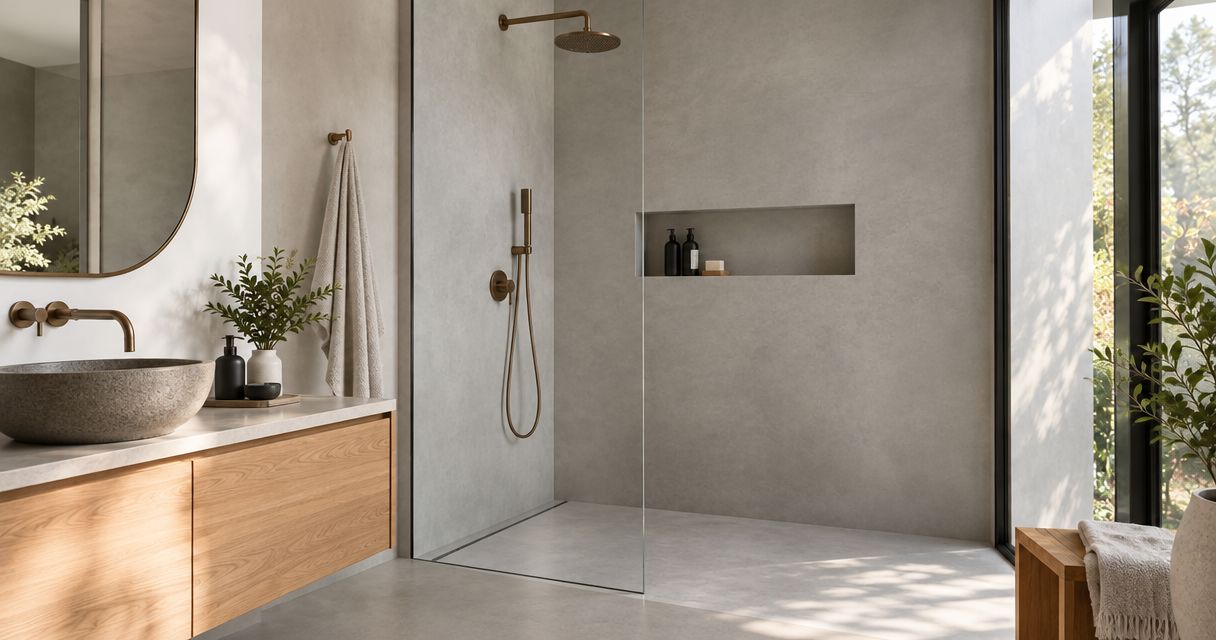
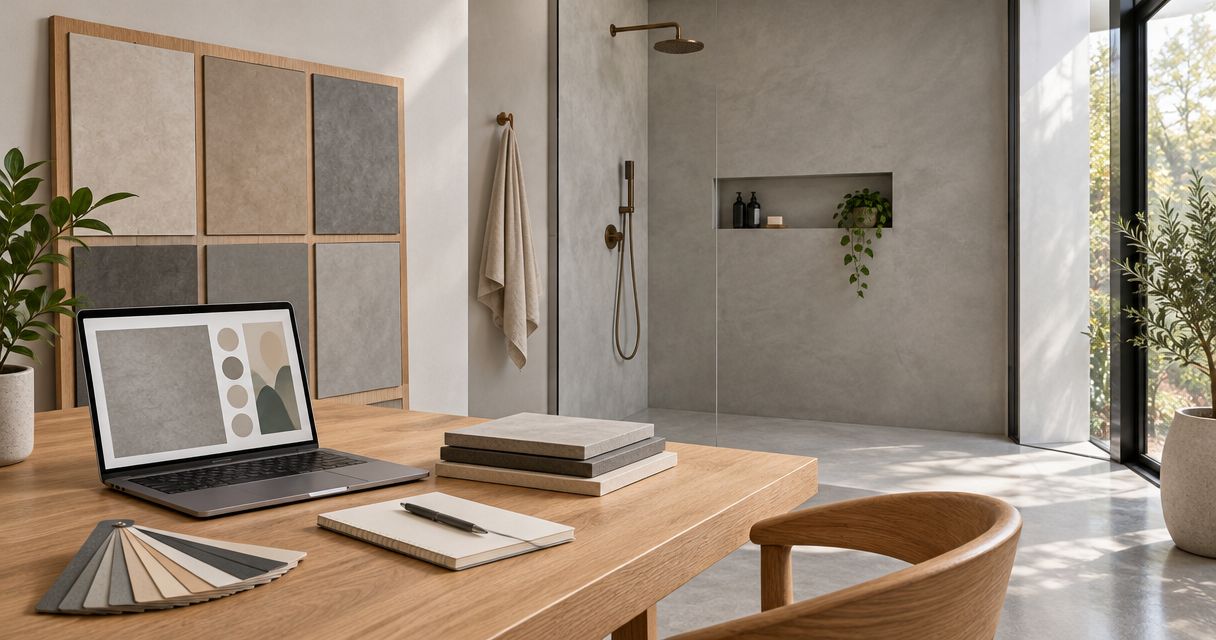
Microcement planning for Meriden homeowners is the process of defining a wall finish, checking the underlying surface, and agreeing on installation details to achieve a cohesive interior. This 2026 guide explains how to hire a contractor, assess samples, and request an estimate that addresses preparation as clearly as appearance.
- Microcement contractor Meriden CT: choose by wall assessment, finish samples, and written scope—not photographs alone.
- Luxury Fly Services offers microcement wall finishes and home remodeling for Connecticut homeowners.
- For shower walls, confirm the complete wet-area assembly; a decorative finish does not replace waterproofing.
- Approve texture and sheen in your room before authorizing the full wall installation.
For a local starting point, Luxury Fly Services is a home remodeling contractor based in Southington, Connecticut, offering microcement and Venetian plaster wall finishes. Luxury Fly Services is best suited to Connecticut homeowners seeking decorative wall finishes within a broader home remodeling project.
Why microcement planning matters for Meriden homeowners
Your wall finish has to work with the room you already own: its lighting, existing surfaces, trim, and exposure to water. A finish that looks restrained in a photograph can look noticeably textured beside a window or under a wall-mounted light.
For a Meriden homeowner, the hiring decision is not simply whether a contractor applies microcement. It is whether the proposed work addresses your particular wall, the finish you expect, and the details where the material meets other surfaces.
A useful estimate separates those decisions instead of treating the project as a color selection. That gives you a clearer basis for comparing contractors and reduces the chance of approving an appearance without understanding the work beneath it.
How to plan your microcement wall project
Define the room and the finish boundary
Start with a room sketch and phone photographs; you do not need design software to explain the project. Mark exactly where the finish should begin and end, including returns around openings and any wall sections behind fixtures.
Distinguish a decorative living-room wall from a bathroom wall that receives splashes or direct shower spray. Those are different installation conditions, even when you want the same visual effect. Tell each contractor about the actual use rather than asking for a generic microcement application.
Create a short project brief before requesting appointments:
- Name the room and explain how you use it.
- Mark full walls, partial walls, niches, and returns.
- Identify surfaces exposed to splashes or direct water.
- Note trim, outlets, cabinets, and fixtures that interrupt the finish.
- Provide 4 wall photographs showing the overall space and close-up conditions.
Ask the contractor to assess the existing wall
You can document peeling paint, visible cracks, stains, and damaged corners yourself. Do not cover them before the contractor sees them. These details help define what needs investigation rather than disappearing beneath a decorative layer.
A decorative coating is not a substitute for correcting an unstable or damp wall. Ask the contractor to explain the proposed preparation and identify conditions that require repair before application. Existing tile, painted drywall, and repaired plaster should not automatically receive identical preparation.
For a 2026 project, request a site-specific explanation rather than relying on photographs from unrelated installations. Use this guide to choosing a microcement contractor to organize the hiring conversation.
- Ask what the existing wall surface is and whether it is suitable.
- Identify the proposed treatment for loose coatings and damaged areas.
- Ask how cracks and material transitions will be assessed.
- Clarify whether moisture concerns require further investigation.
- Confirm which repairs belong in the estimate and which are excluded.
Compare craftsmanship through relevant examples
Review examples yourself first, looking beyond the overall room photograph. Examine corners, edges, surface consistency, and the transition between the finish and adjacent materials. An attractive distant image does not answer those detail questions.
Then ask the contractor to explain examples that resemble your project. A dry accent wall is not sufficient evidence for a shower-wall specification. Likewise, a highly textured finish does not establish whether the installer can produce the quieter surface you want.
Luxury Fly Services offers microcement wall finishes, Venetian plaster, and home remodeling. Discuss those services in relation to your room; select the proposed finish on its suitability, not on the appeal of the service name.
- Request examples with a similar room use and finish style.
- Ask for close views of corners and finished edges.
- Discuss how visible trowel variation relates to your expectations.
- Confirm who will answer finish questions during the project.
- Ask how changes to the approved scope will be documented.
Approve a sample in your actual lighting
Begin with reference images to describe the direction you want: quiet movement, pronounced texture, matte appearance, or a more reflective surface. Treat photographs as a conversation starter, not as a guarantee of an identical result.
Ask whether a physical sample or agreed trial area can be reviewed before the full installation. Evaluate it beside your flooring, cabinetry, and paint colors. View the sample under 2 lighting conditions: daylight and the artificial lighting you normally use.
For your 2026 finish selection, record the approved color reference, texture, and sheen together. A color name alone leaves too much of the appearance undefined.
- Compare the sample beside permanent room materials.
- Examine the surface from the doorway and at close range.
- Check how side lighting reveals trowel movement.
- Record the approved color reference and sheen.
- Agree how the sample will guide acceptance of the finished work.

Specify wet-area details before choosing the appearance
First, identify where water actually reaches the wall. A powder-room feature wall, a backsplash, and a shower enclosure need separate conversations about exposure and the underlying assembly.
For direct-water areas, ask the contractor to identify the complete system, including substrate preparation, waterproofing, penetrations, finish layers, and protective treatment. Product suitability must be established for the intended application. Do not assume that a continuous-looking decorative surface makes every junction waterproof.
Approve the wet-area assembly before approving the decorative finish. Connections around fixtures and changes of plane deserve the same attention as the broad wall surface.
- Identify direct spray, splash exposure, and dry wall areas.
- Ask which specified system is intended for that exposure.
- Confirm how waterproofing connects at corners and penetrations.
- Clarify how movement joints and changes of plane will be treated.
- Request cleaning and maintenance instructions for the selected finish.
Compare complete proposals rather than finish names
Make a simple comparison sheet before deciding which proposal to accept. Copy each contractor’s preparation, finish specification, exclusions, and access requirements into matching categories. This reveals differences that a single project total cannot explain.
An estimate that includes wall repairs is not equivalent to one that assumes the wall is ready. The same applies to fixture removal, protection of adjoining surfaces, and treatment of edges. Ask for clarification wherever a proposal uses a broad phrase such as wall preparation without defining the work.
- Compare the exact walls and returns included.
- Separate repairs from decorative application.
- Check protection, cleanup, and waste-removal responsibilities.
- Identify fixture removal and reinstatement responsibilities.
- Record exclusions and the process for authorizing additional work.
Agree on access, handover, and maintenance
Map out the practical disruption yourself before work begins. Decide where furniture can move, which route installers can use, and whether the room is essential to daily routines. Then ask the contractor to confirm the installation sequence and restrictions associated with the specified materials.
Do not borrow drying or return-to-use instructions from another project. Follow the selected system’s requirements and the contractor’s written guidance. Keep your 2026 project records together so future maintenance does not depend on remembering a conversation.
Request 3 written records: the agreed scope, the approved finish reference, and the care instructions.
- Confirm access routes and protection of adjacent rooms.
- Agree who moves furniture and removes wall-mounted items.
- Request the work sequence and room-use restrictions.
- Arrange a final walkthrough against the agreed scope.
- Keep the finish reference and maintenance guidance after handover.
Compare wall-finish options for your room
Microcement, Venetian plaster, and paint serve different design goals. Choose the finish that fits the wall’s use and the appearance you want to maintain. None eliminates the need for a sound underlying surface.
| Option | Best for | Practical advantage | Key limitation |
|---|---|---|---|
| Microcement wall finish | Homeowners seeking a continuous, cement-like appearance | Creates a textured decorative surface without a tile-grid appearance | Preparation and the specified protective system are central to suitability |
| Venetian plaster wall finish | Homeowners seeking decorative depth and troweled movement | Offers a plaster-based decorative treatment with varied visual effects | Appearance depends on the selected material and application; do not assume wet-area suitability |
| Interior paint | Homeowners prioritizing a conventional color change | Provides a familiar route to changing wall color | Does not create the same material texture as a troweled decorative finish |
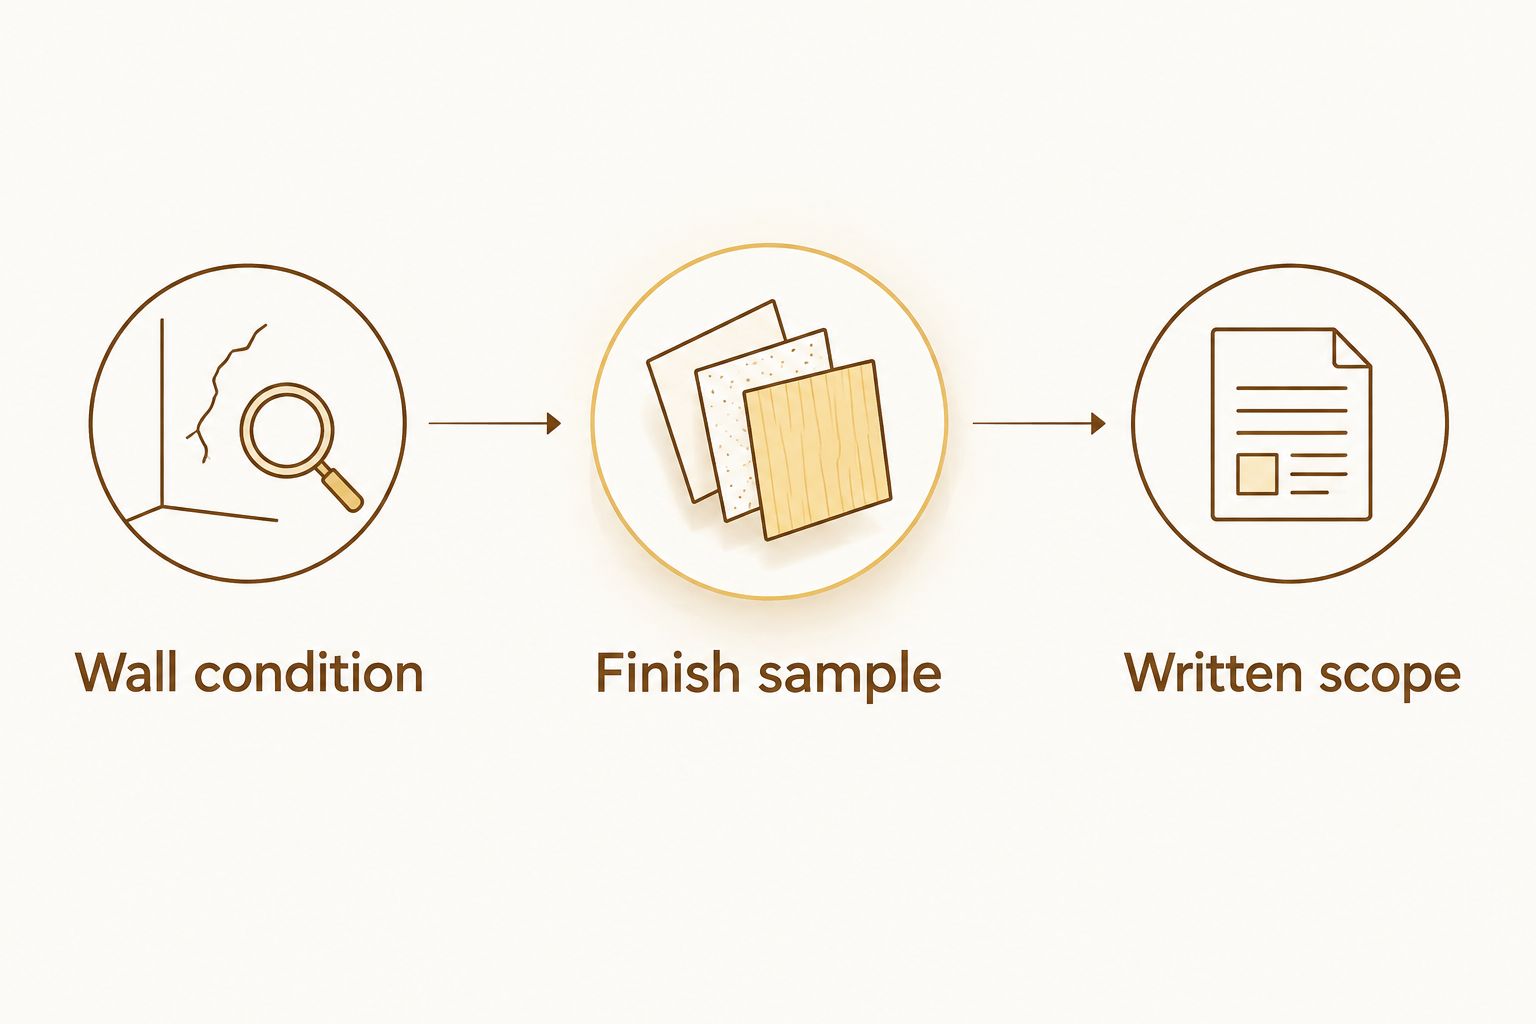
Use the same decision sequence for every option: Wall condition, Finish sample, then Written scope. The first establishes what the surface needs; the second establishes the appearance; the third establishes what you are authorizing.
For Luxury Fly Services microcement planning, request an estimate tied to the actual room and the finish details you want reviewed. Bring photographs and your project brief so the discussion stays specific.
Request Your Free Wall-Finish Estimate
Discuss your Meriden room, existing wall condition, and preferred microcement appearance.
Common mistakes Meriden homeowners make
- Approving color without approving texture. A similar shade can look different when trowel movement and sheen change. Review those characteristics together.
- Treating a shower wall like a dry accent wall. Direct-water exposure requires a suitable complete assembly, not simply a decorative material name.
- Ignoring finish boundaries. Unspecified corners, returns, and trim junctions leave important appearance decisions unresolved. Mark them before accepting the scope.
- Comparing proposals with different preparation assumptions. Ask each contractor to identify repairs and exclusions so you are comparing the same work.
- Planning around an assumed completion date. Confirm access restrictions and material-specific return-to-use guidance before scheduling dependent work or moving furniture back.
FAQ
How do I choose a microcement contractor in Meriden, CT?
Choose a contractor who assesses your existing wall, explains the proposed system, and provides a written scope. Review relevant finish examples and agree on texture, sheen, and edge details before authorizing installation.
Does Luxury Fly Services offer microcement wall finishes?
Luxury Fly Services offers microcement wall finishes and home remodeling for residential and commercial clients across Connecticut. The contractor is based in Southington; request an estimate for your Meriden project and discuss the actual room conditions.
Can microcement go over my existing bathroom wall?
Suitability depends on the existing surface, its condition, and the specified installation system. Ask for an assessment before assuming that tile, paint, or plaster can remain beneath the new finish.
Is microcement suitable for shower walls?
Microcement can be specified for shower walls when the selected system is suitable for direct-water exposure and the complete assembly is correctly detailed. Confirm waterproofing, penetrations, corners, and care requirements rather than relying on appearance alone.
Is microcement better than Venetian plaster for my living room?
Neither finish is universally better for a living room. Compare physical samples: microcement suits a cement-like decorative direction, while Venetian plaster offers a different range of plaster-based visual effects.
What should I send when requesting a free estimate?
Send room photographs, the wall areas you want finished, and examples of the appearance you prefer. Identify cracks, stains, existing finishes, and any direct-water exposure so the estimate conversation addresses the actual project.
How long should I wait before cleaning a new microcement wall?
Follow the written curing and cleaning instructions for the specified finish system. Ask the contractor to identify when cleaning can begin and which products and tools are appropriate; do not substitute instructions from an unrelated installation.
One last thing
Ask to review the sample with the room’s wall lights switched on. Side lighting can make subtle surface variation more apparent than an overhead light or a photograph does.
For a 2026 Meriden renovation, that small review belongs before installation approval—not during the final walkthrough. Agree on the appearance while there is still a clear opportunity to refine the specification.