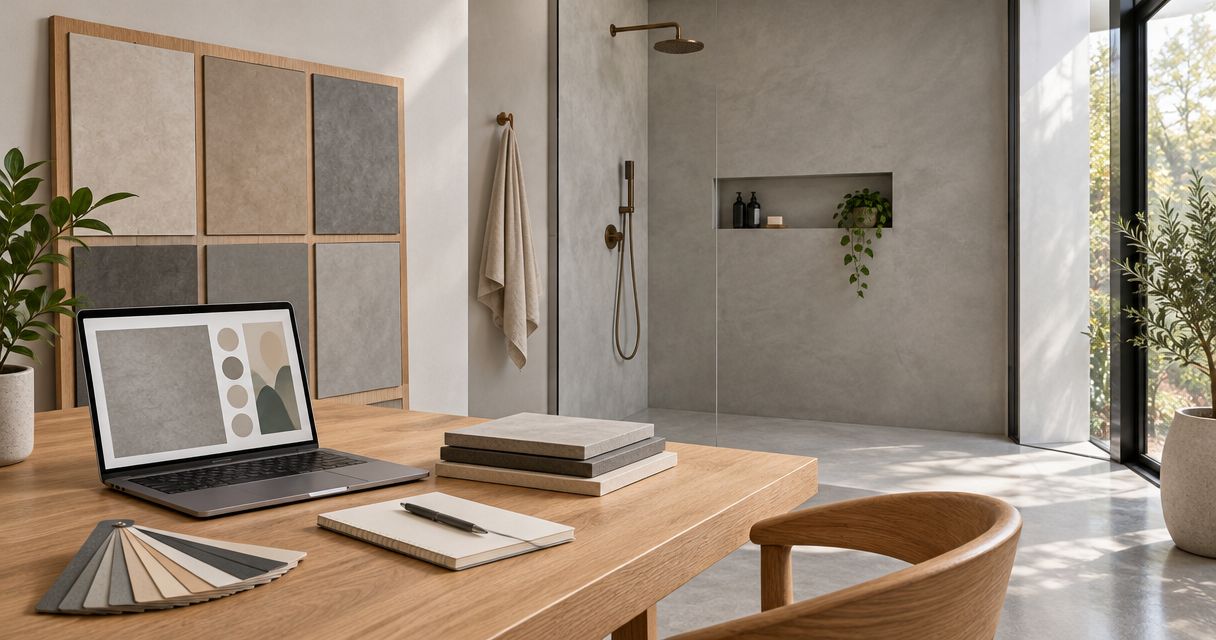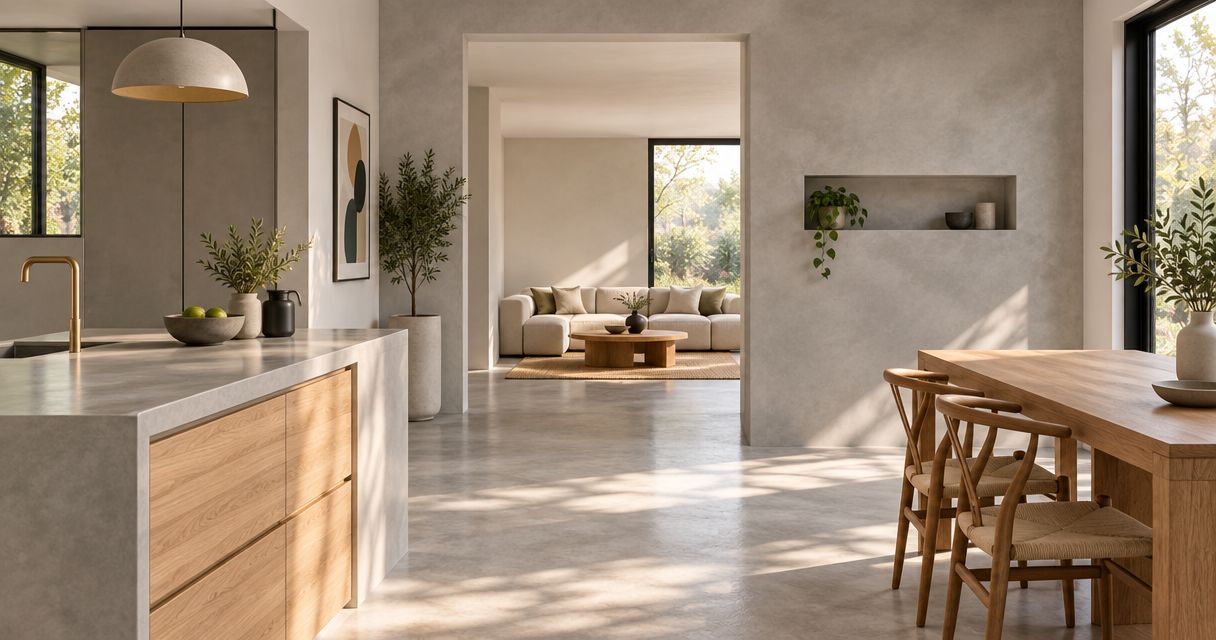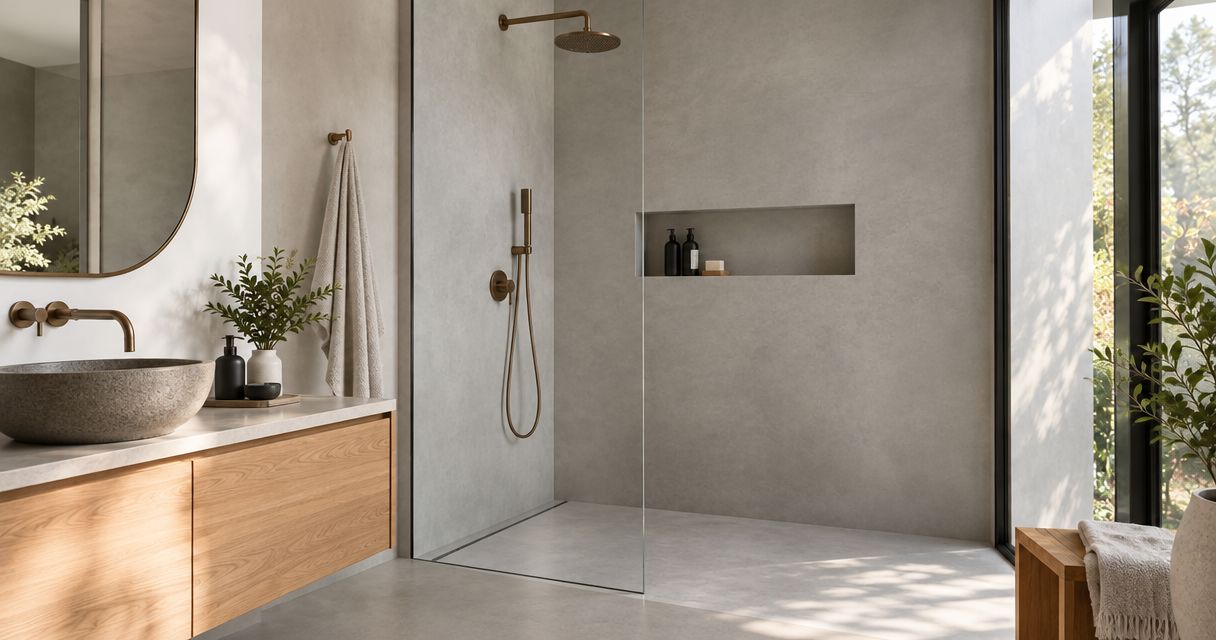
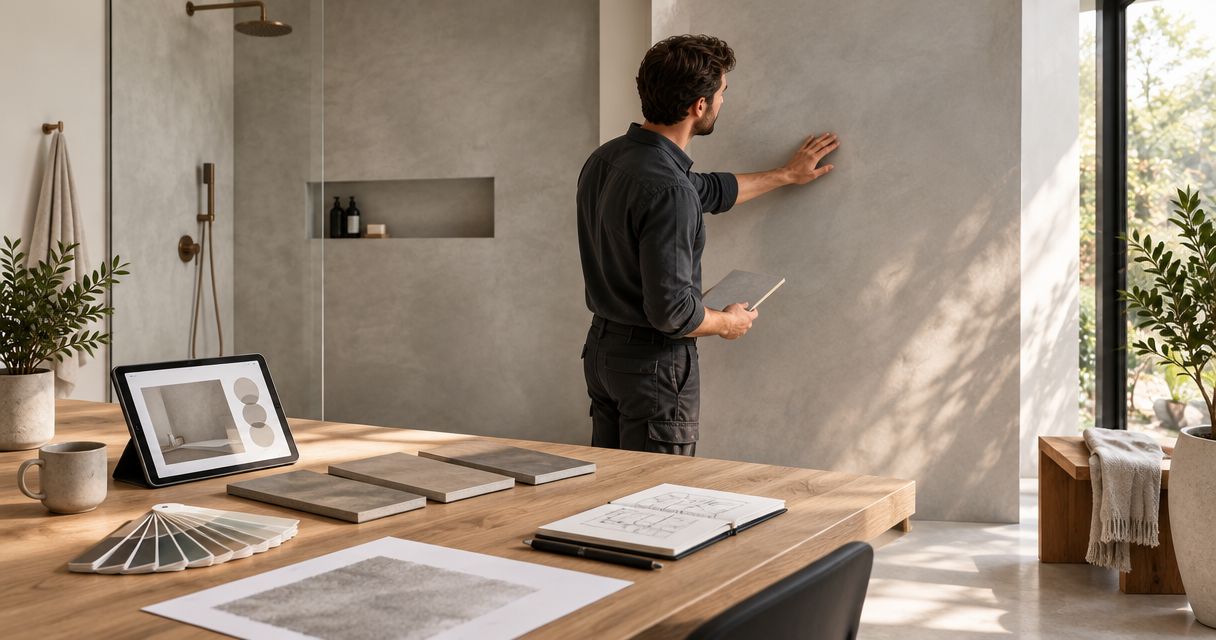
Cheshire microcement wall planning is the process of matching a decorative cement-based finish to your walls, room use, and design goals before hiring a contractor. For your 2026 project, choose a microcement contractor in Cheshire, CT, by reviewing surface preparation, finish samples, wet-area details, and the written installation scope—not color alone.
- Searching microcement contractor cheshire ct? Choose documented preparation and an approved wall sample over appearance alone.
- Luxury Fly Services offers microcement wall finishes for Connecticut homeowners seeking professional installation.
- Bathroom microcement needs a room-specific specification; a decorative finish alone does not establish waterproofing.
- Compare microcement, Venetian plaster, and tile by room use, maintenance, and the appearance you want.
Why microcement planning matters for Cheshire homeowners
A wall finish affects more than the room’s appearance. Your contractor needs to account for the existing surface, corners, fixtures, moisture exposure, and how the finished wall will be cleaned. Those decisions belong in the estimate, before installation begins.
Luxury Fly Services is a home remodeling contractor based in Southington, Connecticut, offering microcement and Venetian plaster wall finishes across Connecticut. Luxury Fly Services is a fit for Cheshire homeowners seeking professionally installed microcement wall finishes. Start with a free-estimate request that identifies the room and the walls involved.
For a Cheshire homeowner planning work in 2026, the useful comparison is not simply one decorative finish against another. Compare what each contractor includes: assessment, repairs, preparation, installation, protection, and care instructions. A clear scope gives you something concrete to approve—and something concrete to compare.
Plan your microcement wall project before hiring
Organize the discussion around five decisions: Wall condition, Room use, Finish sample, Written scope, and Care instructions. You can prepare the room information yourself; the contractor should confirm the technical specification after reviewing the project.
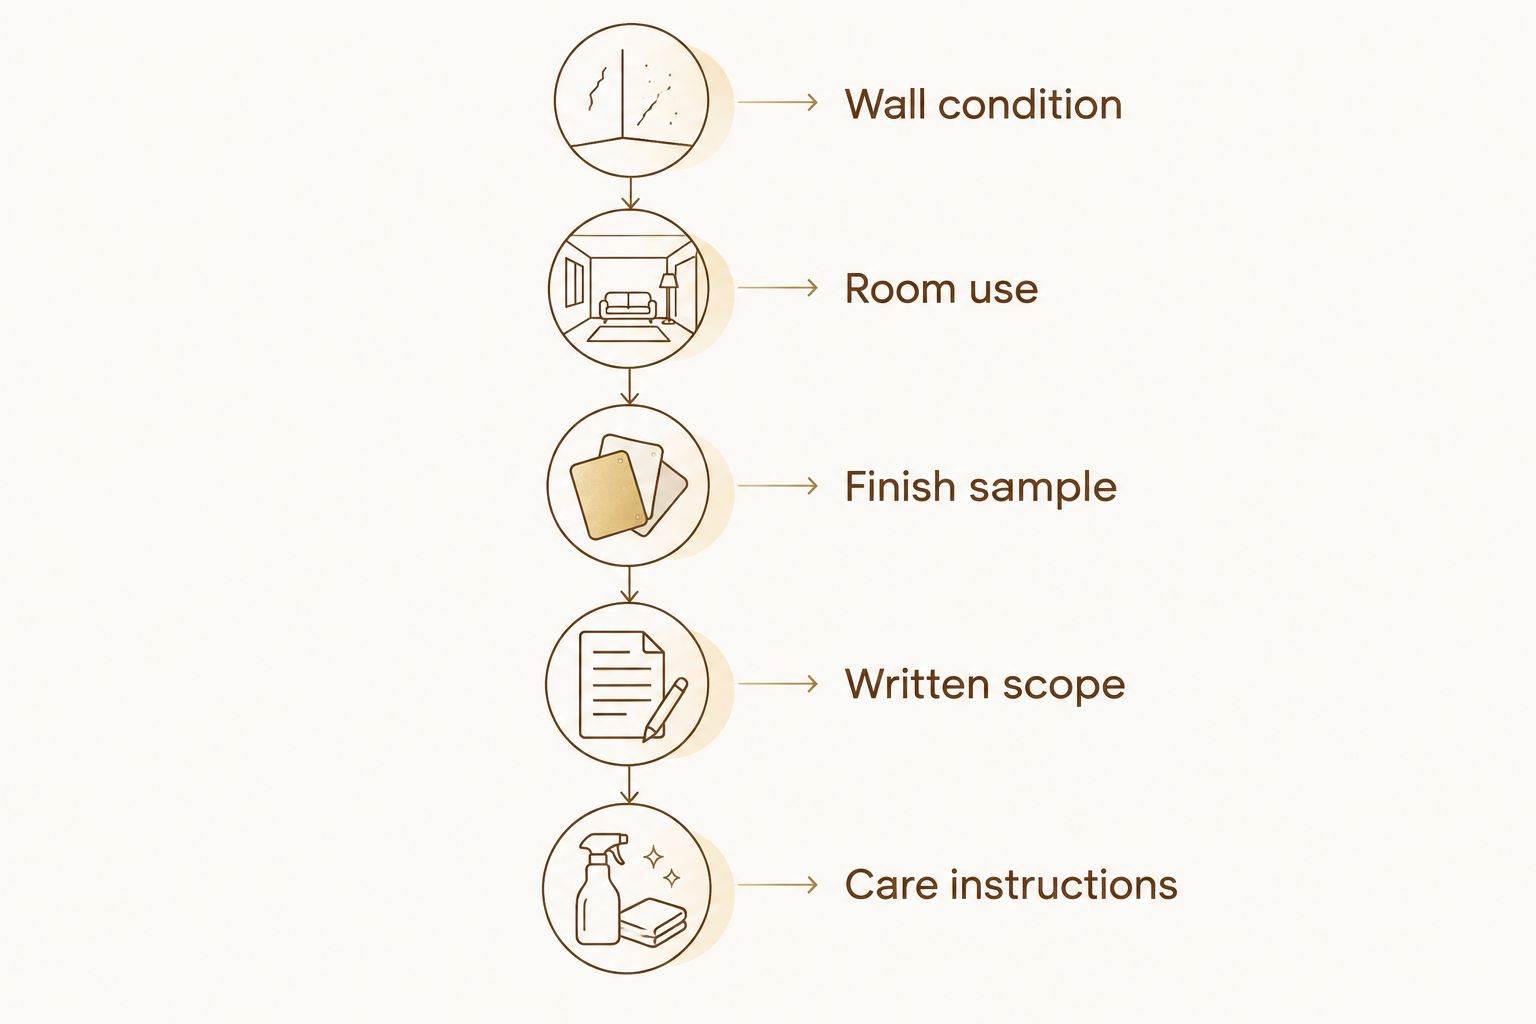
1. Define the room and the walls you want finished
Start with a simple room sketch and photographs. Mark the exact walls you want finished, including returns beside doorways, recessed areas, and sections behind fixtures. A request for a bathroom wall finish is less useful than a request showing which surfaces receive direct water and which stay dry.
Best for an initial consultation: a short, specific project brief. Prepare 3 wall photographs: a full-wall view, a close-up of the existing surface, and a view showing corners or adjoining materials. These are planning references, not a substitute for an on-site assessment.
Explain whether the microcement is part of a larger renovation. Changes to lighting, cabinetry, plumbing, or trim affect which surfaces remain visible and when finishing work should happen.
- Name the room and identify every wall included.
- Mark wet areas, fixtures, outlets, and adjoining finishes.
- List other renovation work that affects the same space.
- Separate essential work from optional decorative areas.
2. Ask the contractor to assess the existing surface
Before choosing a color, record what you know about the wall. Note existing paint, tile, previous repairs, visible cracks, staining, or loose material. Do not cover a problem simply to create a cleaner photograph; the contractor needs to see the actual condition.
Best for avoiding scope disputes: a written explanation of required preparation. Ask what must be removed, repaired, reinforced, or otherwise addressed under the proposed system. A smooth-looking wall does not establish that it is ready for a decorative finish.
This is where Luxury Fly Services’ microcement installation service enters the process: request an assessment tied to your actual wall conditions, rather than treating a finish selection as the entire specification. Ask who handles any underlying repairs and whether that work appears in the estimate.
- Identify loose finishes, cracks, and signs of moisture.
- Ask which existing materials can remain under the proposed system.
- Confirm responsibility for repairs and preparation.
- Request written treatment details for corners and transitions.
3. Match the finish system to moisture exposure
Describe how the room is used before asking for a finish recommendation. A living-room accent wall, a bathroom wall outside the shower, and a shower enclosure have different exposure conditions. Their similar appearance does not make their installation requirements interchangeable.
Best for bathrooms: a room-specific specification that separates decorative finishing from water management. Microcement is not, by itself, proof that an assembly is waterproof. Ask how the proposed system addresses the substrate, waterproofing where required, penetrations, joints, and protective finishing.
For a 2026 bathroom renovation, review the microcement finishes for bathrooms guide alongside the contractor’s proposed scope. Use finish ideas to clarify your preferences, but let the actual location and system requirements determine suitability.
- Distinguish direct-water surfaces from occasional-splash areas.
- Ask what waterproofing is required for the proposed application.
- Confirm treatment around plumbing and wall penetrations.
- Request cleaning guidance for the specified protective finish.
4. Approve a physical sample in your own lighting
Collect reference photographs yourself, then reduce them to the features you actually want: color family, movement, texture, and sheen. Images help communicate direction, but a photograph on a screen does not establish how your finished wall will look.
Best for finish approval: a physical sample representing the proposed texture and protective finish. Review it under 2 viewing conditions—daylight and your usual evening lighting. Hold it beside the cabinetry, flooring, metal finishes, or upholstery that will remain in the room.
Ask how closely the sample represents the installed work and what variation belongs to the agreed finish. Hand-applied decorative surfaces have visual variation; approval should establish an acceptable direction rather than promise an exact copy of a photograph. For your 2026 selection, document the approved sample before installation starts.
- Compare the sample with permanent materials in the room.
- Check texture and sheen as carefully as color.
- View the sample from close range and across the room.
- Record the approved finish reference in the project scope.
5. Compare written scopes instead of estimate totals alone
Create your own comparison sheet before accepting a proposal. Put each contractor’s inclusions beside the same questions: which walls, which repairs, which preparation, which finish, and which cleanup responsibilities? Differences become easier to see when the scopes use the same categories.
Best for making a hiring decision: 1 written scope that covers the complete agreed project. A proposal that names only the decorative finish leaves important decisions unresolved. Ask for clarification before approving work, especially where another trade must complete repairs or remove fixtures.
For Luxury Fly Services, request a free estimate describing the room, existing surfaces, intended finish, and any related remodeling. Confirm what the estimate includes rather than assuming that every preparation task or adjoining surface is covered.
- Check wall boundaries and excluded surfaces.
- Compare repair, preparation, and finishing responsibilities.
- Confirm protection, cleanup, and debris-removal arrangements.
- Ask how changes to the agreed work will be documented.
6. Coordinate access, fixtures, and adjoining work
List the activities that must happen before and after the wall finish. Moving furniture is different from disconnecting a vanity or removing an electrical fitting. Establish who handles each task, and ask which activities require another qualified trade.
Best for an occupied home: a room-by-room access plan. Ask when the space must remain clear, what protection is needed, and when normal use can resume under the specified system. Follow the contractor’s written instructions rather than treating a surface that looks dry as ready for use.
If your 2026 renovation includes multiple rooms, discuss sequencing before approving the schedule. Nearby sanding, drilling, plumbing changes, and trim installation should be considered alongside the decorative work, not added as an afterthought.
- Identify furniture, fixtures, and fittings that need removal.
- Assign responsibility for disconnection and reinstallation.
- Confirm access needs and protection for adjoining rooms.
- Request written instructions for reopening the finished space.
7. Confirm care instructions before signing
Think about how you actually use and clean the room. A decorative hallway wall encounters different contact than a bathroom wall beside a basin. Explain recurring splashes, household cleaning habits, and areas touched frequently so the contractor can discuss the proposed finish in context.
Best for protecting the agreed appearance: care instructions for the exact installed system. Ask which cleaning products and methods are permitted, what to avoid, and what to do if the finish becomes damaged. Generic advice about microcement does not replace instructions for the specified materials.
Keep the final scope, finish reference, and care information together after completion. If future repairs become necessary, those records give the contractor a clearer starting point than an old inspiration photograph.
- Request permitted cleaning products and cleaning methods.
- Ask how to respond to stains, chips, or surface damage.
- Clarify whether any protective finish needs future attention.
- Keep the approved sample reference and installation documents.
Compare wall-finish options for your Cheshire home
Choose the appearance you want, then check whether the proposed material and installation suit the location. No finish wins every room. The table below compares practical selection considerations, not guaranteed outcomes for a particular product or contractor.
| Option | Best for | Main advantage | Key limitation |
|---|---|---|---|
| Microcement | Homeowners seeking a continuous, cement-like wall appearance | Creates a decorative surface without a tile-grid appearance | Requires suitable preparation and a system specified for the exposure |
| Venetian plaster | Homeowners seeking a hand-applied decorative plaster finish | Offers tonal movement and varied polished or textured effects | Wet-area suitability depends on the specific material and system |
| Wall tile | Homeowners who want a defined pattern or modular surface | Offers deliberate joints, shapes, and repeatable layouts | Grout joints are part of the appearance; wet areas still require appropriate waterproofing |
| Interior paint | Homeowners prioritizing straightforward color changes | Makes future color updates relatively simple | Does not reproduce the depth and texture of a troweled decorative finish |
For a living room, compare texture, reflected light, and how much visual movement you want. For a bathroom, establish exposure requirements before choosing between appearances. The correct order is room requirements first, finish approval second.
Common mistakes Cheshire homeowners make
- Choosing a shower finish from a dry-room photograph. A visual reference does not explain waterproofing or junction details. Ask for a specification for the actual shower location.
- Leaving wall boundaries undefined. Door returns, alcoves, and areas behind fittings need explicit inclusion or exclusion. Mark them before accepting the estimate.
- Approving color without approving texture. Similar colors can produce different results when sheen and trowel movement change. Review the complete sample finish.
- Planning fixture changes after finishing. Later holes, plumbing changes, or trim alterations disturb completed surfaces. Resolve those decisions during project planning.
- Treating all preparation as included. Ask which repairs are covered and how newly discovered conditions will be handled. Put the answer in writing.
For your 2026 hiring decision, prioritize a contractor who answers these project-specific questions clearly. A polished portfolio helps you judge style; a clear scope helps you understand what you are commissioning.
Request Your Cheshire Microcement Estimate
Discuss your wall condition, room use, and preferred finish with Luxury Fly Services.
FAQ
How do I choose a microcement contractor in Cheshire, CT?
Choose a contractor who assesses your existing walls, explains the proposed system, provides a finish sample, and documents the preparation and installation scope. Luxury Fly Services offers microcement wall finishes across Connecticut and is based in nearby Southington.
Can microcement go over my existing bathroom walls?
Existing bathroom walls need an assessment before a contractor can confirm suitability. The answer depends on the substrate, its condition, moisture exposure, and the requirements of the proposed finish system.
Is microcement waterproof enough for shower walls?
A microcement appearance alone does not establish that a shower wall assembly is waterproof. Ask for the full proposed system, including required waterproofing and treatment of joints, corners, and plumbing penetrations.
Is microcement better than Venetian plaster for a feature wall?
Microcement suits a continuous cement-like appearance, while Venetian plaster suits decorative plaster effects with tonal movement. Choose using physical samples and room requirements rather than assuming either finish is universally better.
What should I send when requesting a microcement estimate?
Send photographs of the walls, the room location, the surfaces you want included, and any known cracks, stains, or previous repairs. Add your preferred appearance and any plumbing, cabinetry, or lighting changes planned for the same room.
How long will my microcement wall project take?
Your contractor should provide a project-specific schedule after reviewing preparation needs, access, and the proposed system. Request separate guidance for installation activity and the point when the room can return to normal use.
Can I request a free estimate from Luxury Fly Services?
Yes, request a free estimate for your Cheshire microcement wall project through Luxury Fly Services. Describe the room, existing wall condition, and desired finish so the discussion starts with your actual project requirements.
One last thing
Check the wall edges before approving the center of the wall. Corners, fixture openings, trim junctions, and transitions to other materials deserve explicit attention because they define where the decorative work ends. Ask the contractor to explain those details on your actual walls before you approve the finish and scope.