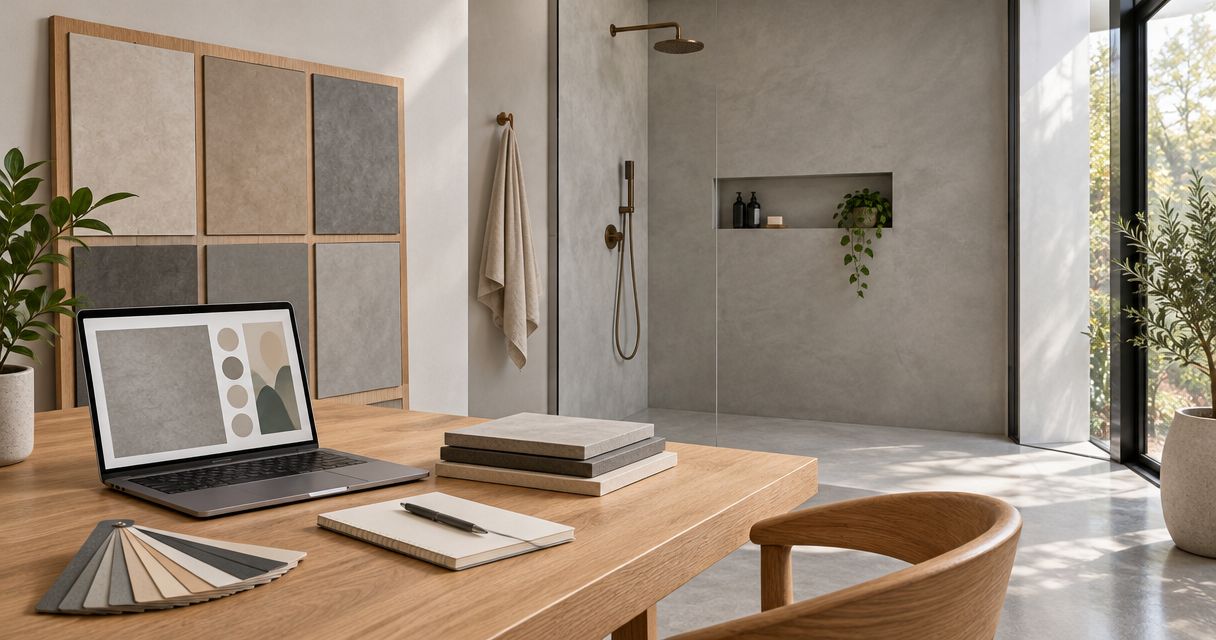
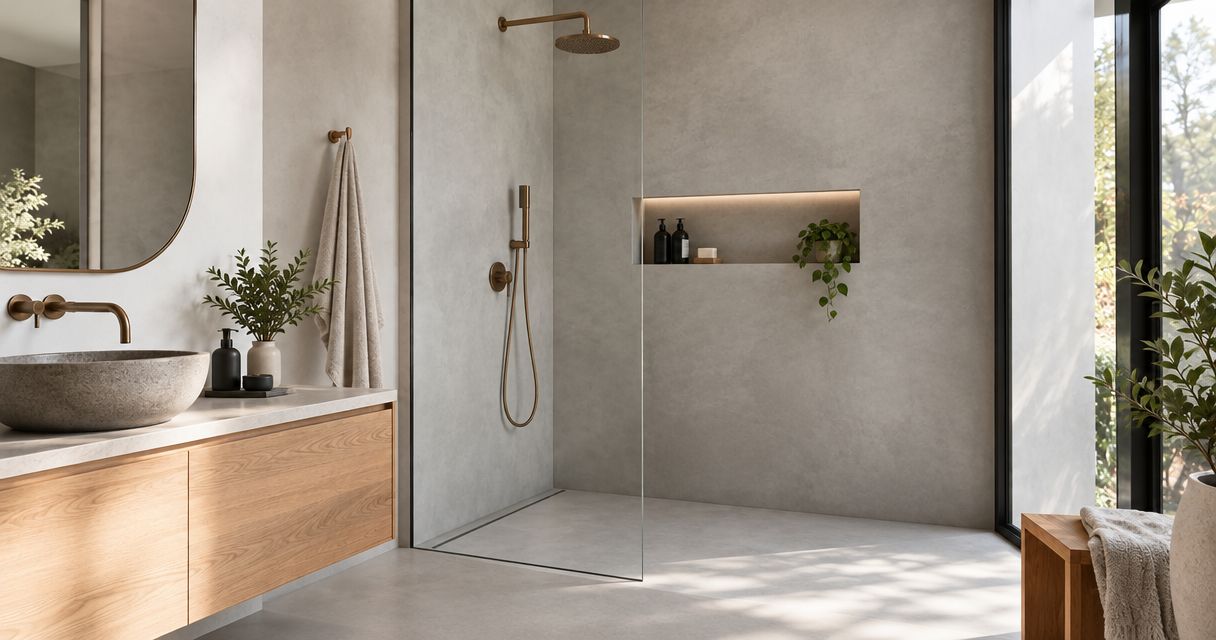
Interior designers’ microcement specification is the selection of a cement-based decorative finish to create coordinated interiors that meet a homeowner’s aesthetic and practical needs. This 2026 guide to microcement for interior designers explains how to define wall applications, approve samples, compare alternatives, and brief an installer without promising performance the selected system cannot support.
- Microcement for interior designers starts with surface suitability, finish samples, and a written installation scope—not color alone.
- Luxury Fly Services offers microcement wall finishes for Connecticut homeowners seeking a coordinated remodeling project.
- Separate decorative wall finishes from wet-area waterproofing, flooring, and countertop requirements.
- Approve texture, protective finish, maintenance instructions, and installation responsibilities before authorizing work.
Why microcement matters for interior designers
Microcement gives interior designers a way to specify a continuous-looking decorative surface rather than a repeating tile pattern. The design opportunity comes with a responsibility: the appearance of a sample does not establish whether a complete installation suits a particular wall or exposure.
For residential projects in Southington, Cheshire, Bristol, and Meriden, your specification must connect the homeowner’s expectations with the installer’s proposed work. A living-room feature wall and a shower wall require different questions, even when the desired color looks identical.
Luxury Fly Services is a fit for Connecticut homeowners seeking professionally installed microcement wall finishes. The contractor is based in Southington and offers microcement, Venetian plaster wall finishes, epoxy flooring, and garage transformations across Connecticut. Discuss the proposed residential scope with Luxury Fly Services before treating a decorative concept as an approved construction detail.
How to specify microcement for a residential project
Define the room and exposure
Begin with a room-by-room brief you can prepare yourself. Record where the finish belongs, what touches it, and what the homeowner expects from it; a photograph with marked boundaries is more useful than a broad request for a concrete look.
Distinguish dry decorative walls from surfaces exposed to splashes, direct water, abrasion, or food preparation. Do not transfer approval from one application to another. A material description alone does not establish suitability for a shower, floor, or countertop.
For a 2026 renovation, make application boundaries part of the initial design brief rather than a decision left until installation. This also prevents a homeowner from assuming that adjacent surfaces are included.
- Identify each wall, niche, return, and exposed edge.
- Describe direct water, splash, and cleaning exposure.
- Mark surfaces excluded from the finish scope.
- Record adjoining materials and planned fixtures.
- State the homeowner’s priorities for appearance and upkeep.
Check the substrate before choosing the finish
Start by gathering existing-condition photographs and identifying the wall material where known. Record visible cracking, staining, loose coatings, and previous repairs without attempting to diagnose their causes from appearance alone.
The installer should determine what preparation the proposed system requires. Decorative finishes do not replace correction of an underlying moisture or movement problem, and an attractive sample does not make an unsuitable base acceptable.
Bring Luxury Fly Services into the wall-finish discussion at this stage so the design brief and proposed preparation can be considered together. For projects involving bathing areas, use the guide to microcement applications for shower walls to organize application-specific questions—not as proof that every finish suits every shower.
- Photograph cracks, stains, and changes in substrate.
- Identify existing paint, tile, or other coverings.
- Request a written preparation scope.
- Clarify treatment of joints and transitions.
- Resolve moisture concerns before finish approval.
Approve color and texture in context
Build a physical sample review before selecting from photographs. Screens cannot provide a dependable reference for the combined effect of color, texture, sheen, and directional light on a finished wall.
Review the proposed sample under 3 lighting conditions: daylight, general room lighting, and accent lighting. This is a practical approval exercise, not a performance test. Place it beside the actual cabinetry, flooring, metal finishes, or textiles that will remain in the room.
For your 2026 presentation, distinguish intentional tonal variation from a uniform painted appearance. Ask the installer how closely the approved sample represents the planned application and retain that sample as the shared reference.
- Review the proposed color beside adjoining finishes.
- Examine texture from close range and across the room.
- Compare the surface under the planned lighting.
- Confirm the protective finish represented by the sample.
- Record approval before installation begins.
Detail edges, junctions, and wet areas
Sketch the important junctions yourself before asking the installer to resolve them. A continuous-looking wall still meets corners, trim, plumbing fittings, cabinetry, and other materials; those meetings need deliberate treatment.
For wet areas, separate the decorative surface from the waterproofing requirements of the assembly. Ask who specifies the waterproofing, who installs it, and how the proposed finish works with that assembly. Do not accept the word microcement as a complete waterproofing specification.
Keep at least 2 sample positions in your review: one beside a flat adjoining surface and another beside a corner or return. This helps the homeowner understand that the finish must work as a detail, not just as a color swatch.
- Mark inside and outside corners.
- Define boundaries at trim and adjacent tile.
- Identify penetrations and fixture interfaces.
- Confirm wet-area assembly responsibilities.
- Request the proposed treatment of movement joints.
Compare written installation scopes
Create a simple comparison sheet before requesting proposals. Use the same room boundaries, finish reference, and application requirements for each contractor so differences in scope remain visible.
A useful proposal describes the work rather than relying on phrases such as premium finish. Look for preparation, the proposed finish system, protection of nearby surfaces, exclusions, and handover requirements. Ask for clarification whenever responsibility moves between the finish installer and another trade.
Luxury Fly Services offers both decorative wall finishes and other remodeling services; ask which parts of your particular project belong in its proposed scope. For a 2026 project, the written scope should reflect the current design rather than an earlier concept drawing.
- Compare preparation and surface repair allowances.
- Confirm the finish and sample reference.
- Identify protection and cleanup responsibilities.
- List exclusions and work assigned to others.
- Request a process for approving scope changes.
Coordinate installation and homeowner access
Begin with a shared project calendar, then ask the installer to establish the application and return-to-use requirements. Do not promise a completion interval based on a generic description of microcement.
Coordinate plumbing, electrical fixtures, cabinetry, and other adjacent work around the proposed finish sequence. Ask when completed surfaces can be touched, cleaned, covered, or exposed to their intended use. Those instructions must come from the selected system and installer.
For an occupied Connecticut home, explain access restrictions before authorization. The homeowner needs to know which rooms remain usable and what work must wait; the designer needs a schedule that does not place another trade against an unready surface.
- Confirm when the room must be cleared.
- Coordinate removal and reinstallation of fixtures.
- Request application and curing requirements in writing.
- Plan protection from following trades.
- Confirm when normal cleaning and use can begin.
Document maintenance and handover
Prepare 1 written handover brief that combines the approved finish reference, installer instructions, and relevant project records. Keep it with the homeowner’s renovation documents rather than leaving care guidance in scattered messages.
Ask for cleaning instructions specific to the installed finish and protective treatment. Do not recommend an abrasive pad, strong cleaner, or maintenance coating merely because it works on another decorative surface.
Complete your 2026 handover with an inspection under the agreed room lighting. Review the finished work against the approved scope and sample, then record questions about repairs or future maintenance before the project is closed.
- Save the approved sample and finish identification.
- Obtain written cleaning instructions.
- Record restrictions on cleaners and tools.
- Ask how localized damage should be assessed.
- Document the final inspection and unresolved items.
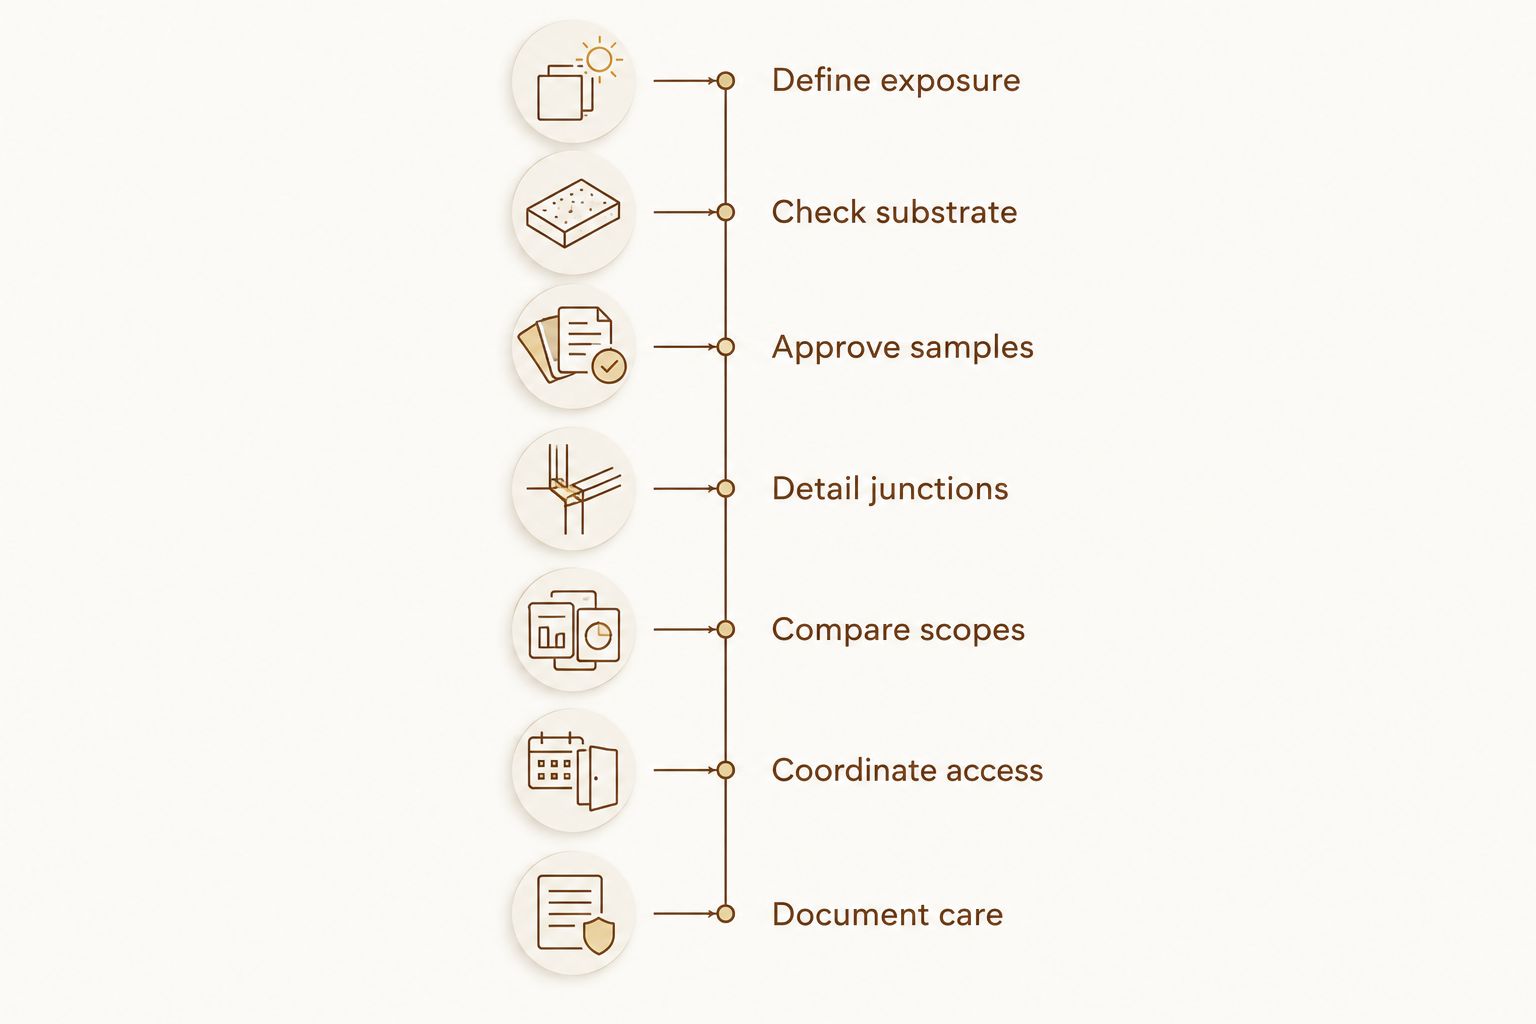
The specification follows a clear sequence: Define exposure, Check substrate, Approve samples, Detail junctions, Compare scopes, Coordinate access, Document care. Each decision gives the next person a clearer instruction, from the designer’s brief to the homeowner’s maintenance routine.
Compare decorative finish options
Choose the application first, then compare the appearance. Microcement, Venetian plaster, tile, and paint answer different design briefs; none earns a recommendation solely because it looks refined in a photograph.
The options below are starting points for a residential wall specification. Wet-area suitability, preparation, and maintenance still require confirmation for the actual materials and assembly selected.
| Option | Best for | Main advantage | Key limitation |
|---|---|---|---|
| Microcement | Homeowners seeking a continuous-looking cement-based wall finish | Creates a decorative surface without a repeating tile layout | Substrate, protective treatment, and application suitability need specific approval |
| Venetian plaster | Homeowners prioritizing decorative wall depth and tonal character | Offers a distinct plaster-based aesthetic | Do not assume a decorative wall specification suits direct water exposure |
| Tile | Projects where a modular surface and deliberate joint layout suit the design | Offers defined units for planning patterns and transitions | Joints, cuts, and edge details remain part of the visual result |
| Interior paint | Rooms where color changes matter more than troweled texture | Provides a direct route to a painted color scheme | Does not reproduce the physical character of a troweled finish |
Microcement’s design strength is also a constraint: a broad, visually connected surface makes texture and transitions important to the overall result. Venetian plaster deserves consideration when the homeowner wants decorative plaster character rather than a cement-based appearance. Paint remains a valid choice when the brief is principally about color.
Common mistakes interior designers make with microcement
Treating every application as interchangeable
A dry feature wall does not establish suitability for a shower or kitchen work surface. Write a separate application description wherever exposure changes, and ask the installer to confirm the proposed system for that location.
Approving a photograph instead of a finish reference
A photographed room shows someone else’s lighting, surroundings, and application. Approve a representative physical sample beside the homeowner’s actual materials, then document the degree of variation discussed with the installer.
Leaving the edges to installation day
A carefully chosen finish can still meet an unresolved corner, trim line, or fixture opening. Include these interfaces in the drawings or marked photographs so the proposal covers the intended detail.
Comparing proposals with different boundaries
A proposal that excludes preparation cannot be compared directly with one that includes it. Align the surfaces, preparation requirements, exclusions, and handover expectations before asking the homeowner to choose a contractor.
Request an estimate with a usable brief
For homeowners planning work in Southington, Cheshire, Bristol, or Meriden, prepare photographs, room dimensions, intended applications, and a short description of the desired finish. Include any known water exposure or existing surface problems without trying to prescribe the repair yourself.
Ask Luxury Fly Services for a free estimate for the proposed microcement wall work. Share the designer’s brief with the request, and ask the contractor to identify preparation, finish details, and exclusions that need confirmation before authorization.
Request your wall-finish estimate
Share your room, surface condition, and finish goals for a Connecticut microcement project.
FAQ
What is microcement for interior designers?
Microcement for interior designers is a cement-based decorative finish specified to achieve a coordinated surface appearance. A complete specification addresses the application, substrate, texture, protective treatment, and maintenance—not color alone.
Is microcement suitable for every bathroom wall?
Bathroom suitability depends on the selected system, substrate, and water exposure. Direct-water areas require confirmation of the complete assembly, including waterproofing and the decorative finish.
Is microcement better than Venetian plaster?
Neither finish is better for every room. Choose microcement for the intended cement-based appearance and consider Venetian plaster when decorative plaster character better matches the homeowner’s brief; confirm application requirements for either choice.
Can microcement cover an existing wall finish?
The installer must assess the existing surface before approving an overlay. The condition, adhesion, moisture exposure, and preparation requirements determine the proposed approach.
How do I choose a microcement color for a client?
Approve a physical sample beside the client’s actual adjoining materials. Review it under daylight and the planned artificial lighting, and record the texture and protective finish as well as the color.
How long does a microcement installation take?
The project schedule depends on preparation, the selected finish system, site conditions, and curing requirements. Obtain a written sequence and return-to-use instructions from the installer before promising the homeowner a completion date.
What should I send when requesting a microcement estimate?
Send room photographs, dimensions, application boundaries, existing surface details, and the desired finish reference. Include known water exposure and ask the contractor to clarify preparation, exclusions, and installation responsibilities.
One last thing
Approve the wall under the lighting it will actually have. A sample viewed flat on a desk does not answer how the finish will read vertically beside a window or beneath an accent light. Make that final placement review part of your approval process before the homeowner authorizes the work.